Deploy WordPress in Azure App Service (Web App) with staging slots for the production and development environment
In this post you will see how to setup an Azure App Service plan with an Azure App Service (Web App) consisting of two deployment slots to change the production and development instance of your WordPress site.
For this setup we also use an Azure Database for MySQL Server and there we create two databases, one for the production site and one for the pre-production development site.
- Create an Azure App Service plan
- Create an Azure Database for MySQL
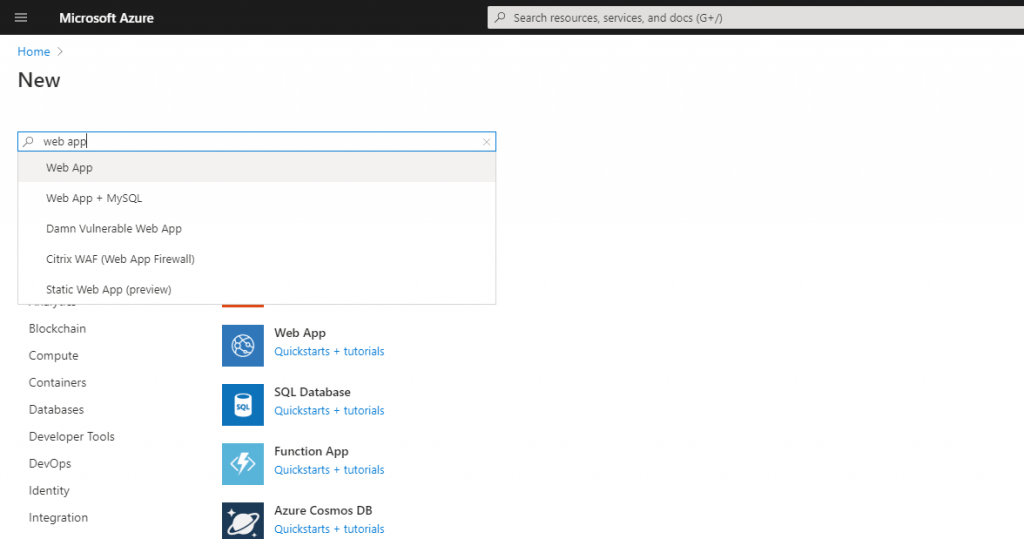
- Create an Azure App Service (Web App)
- Download WordPress into your Web App
- Create your database
- Install WordPress
- FTP Access to your Webroot Folder
- Create a second slot
- Append URL settings for swapping slots
- Add a custom domain
- Backup your Azure App Service Web Apps + databases
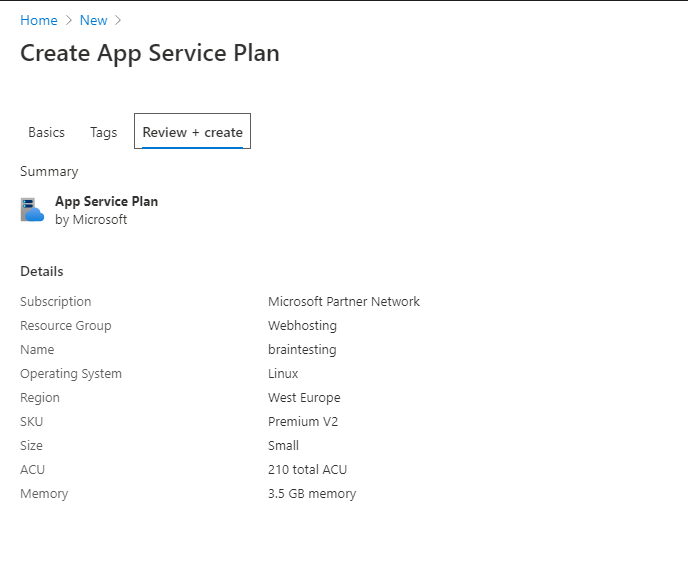
Create an Azure App Service plan
First we need to create the Azure App Service plan. This is the container for your app. The App Service plan settings will determine the location, features, costs and compute resources associated with your app. In my case I use as operating system Linux for the plan, so in the background of this App Service plan there is one or more Virtual Machine running Linux. When you create a Web App inside this plan, the Web App is running on all VM instances this plan is using.
Azure App Service plan overview
https://docs.microsoft.com/en-us/azure/app-service/overview-hosting-plans
Use an App Service Environment
https://docs.microsoft.com/en-us/azure/app-service/environment/using-an-ase
Demystifying the magic behind App Service OS updates
https://azure.github.io/AppService/2018/01/18/Demystifying-the-magic-behind-App-Service-OS-updates.html
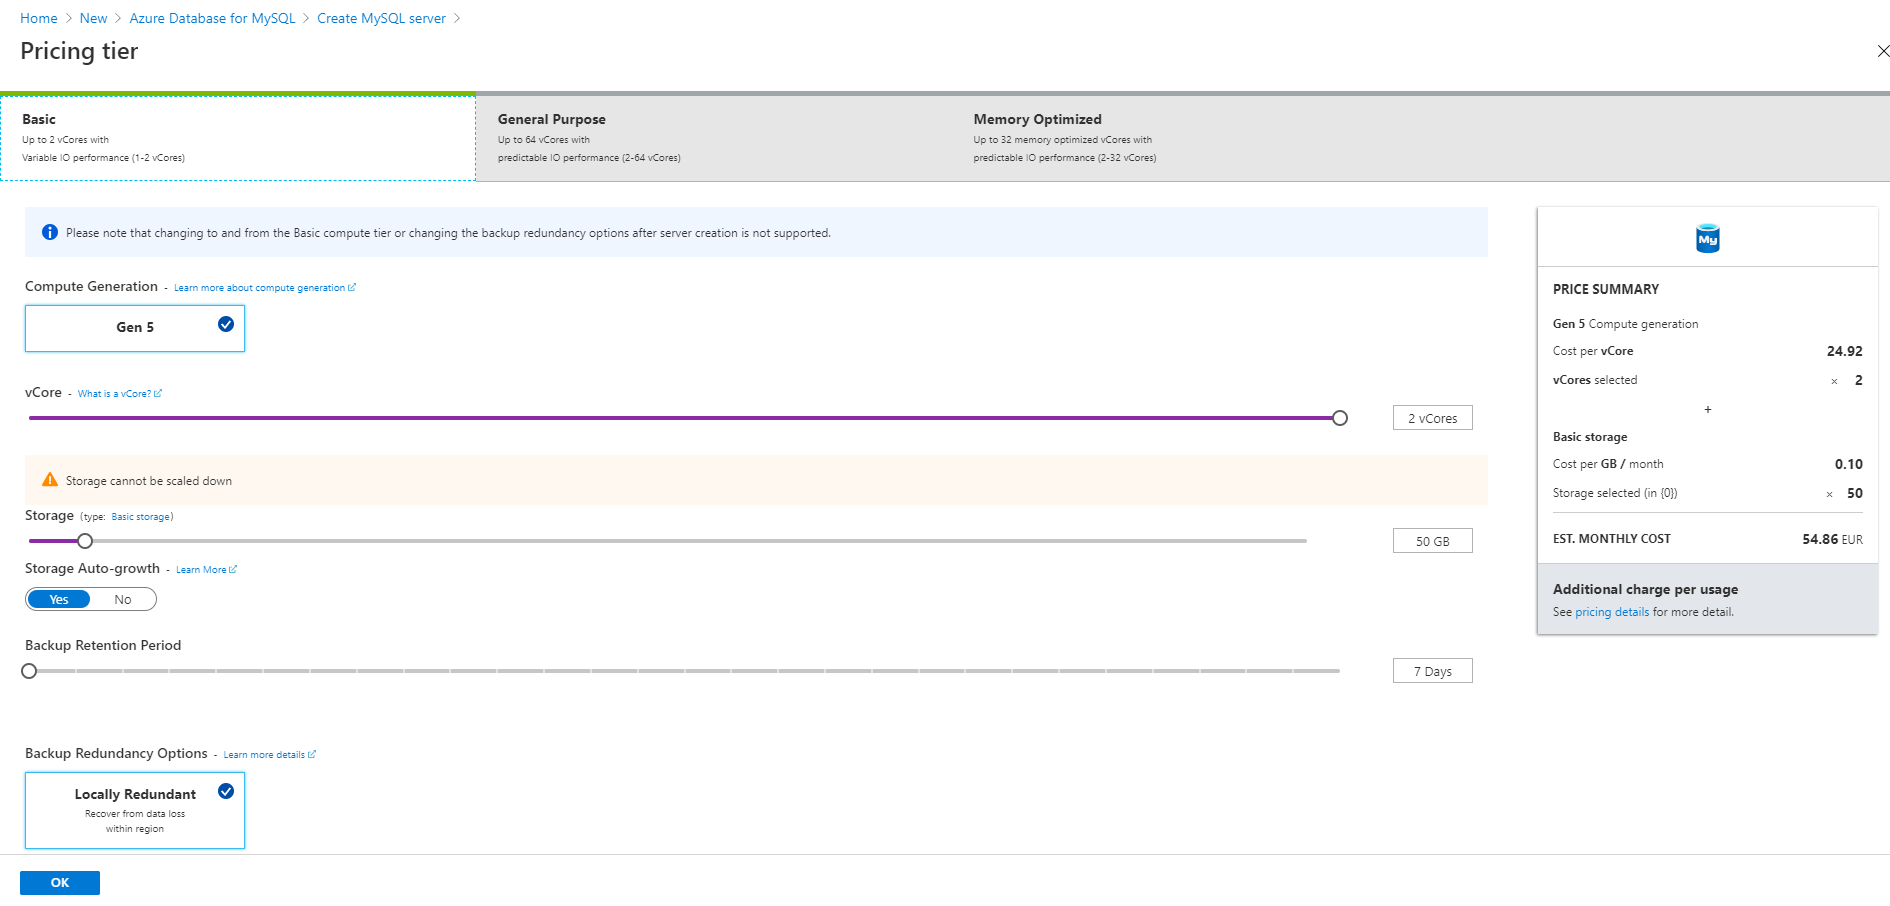
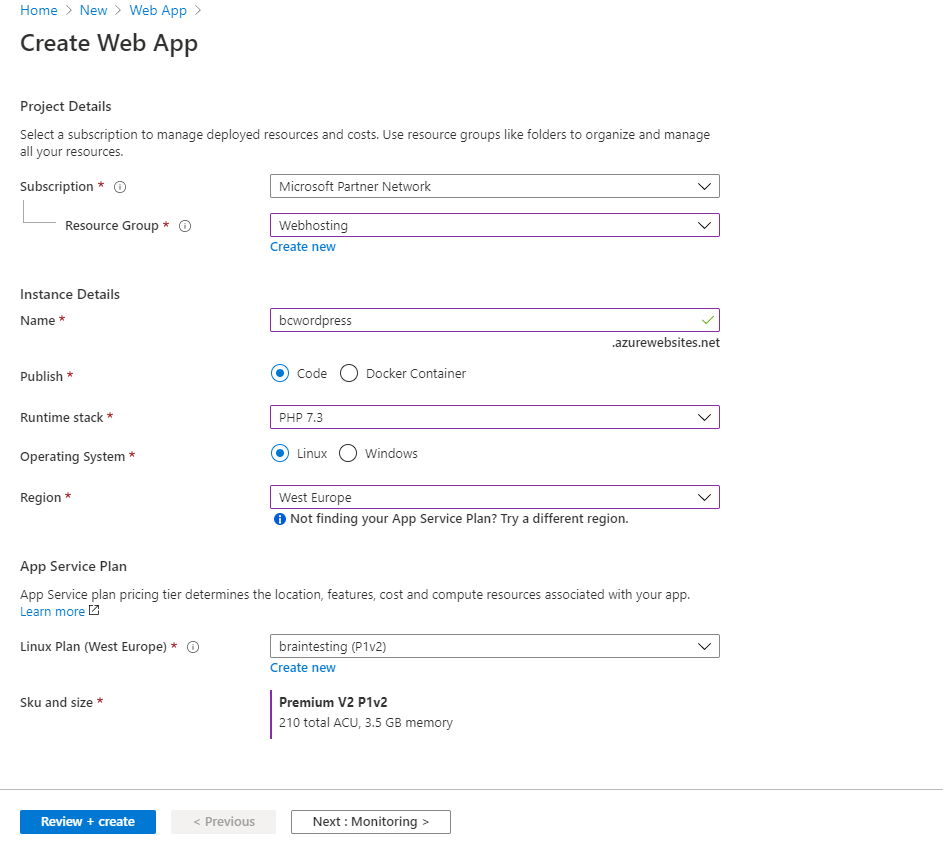
Choose the right pricing tier for your WordPress environment. In my case I decided to select the Premium V2 P1v2 tier.

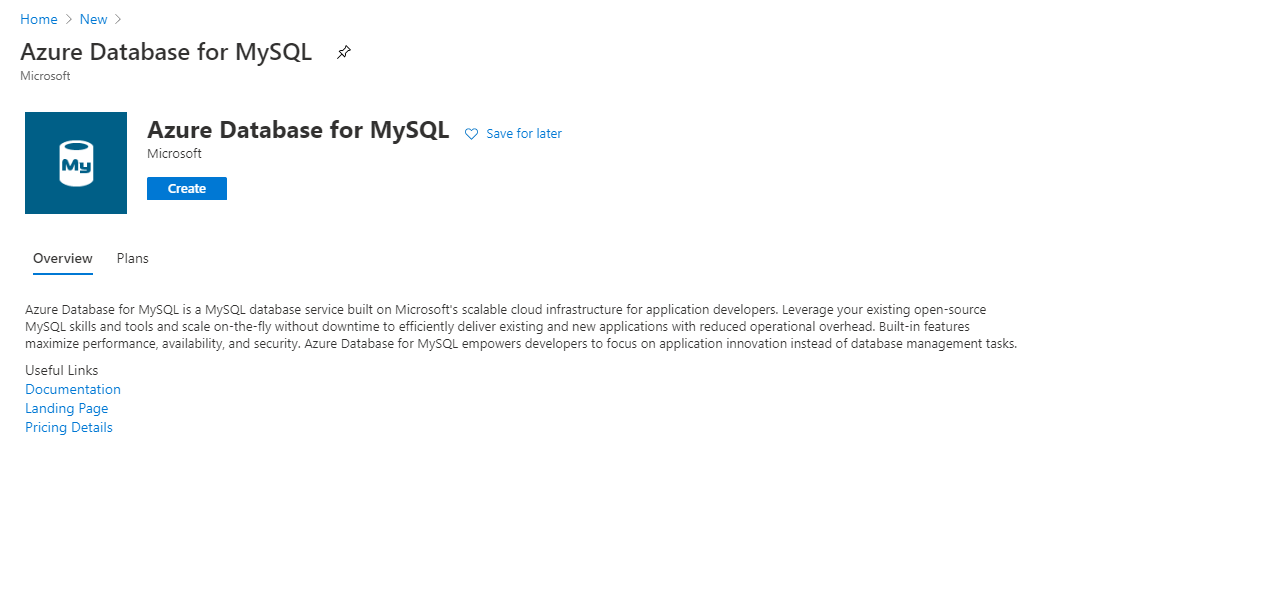
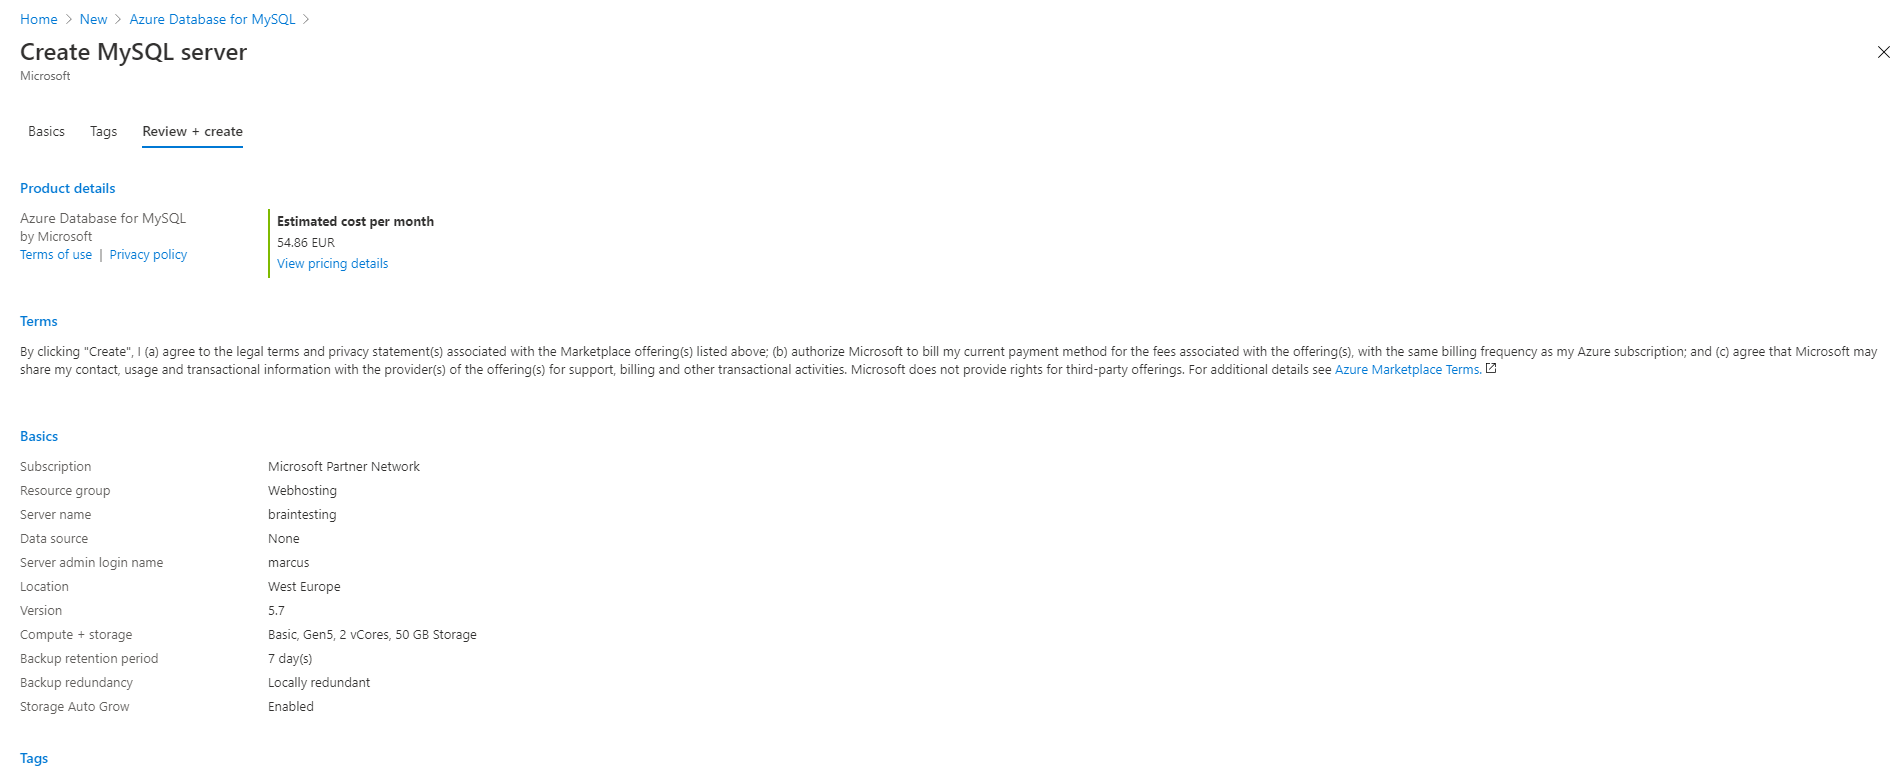
Create an Azure Database for MySQL
Further we need to create an Azure Database for MySQL. This is a dedicated instance of MySQL Server (PaaS), and provides a managed database service on which we create our databases for the WordPress instances. One for the production and one for the development environment. So each instance have his own database.
Alternatively you can use Web App + MySQL (MySQL in-app), this is an App Service feature where MySQL database is created for your web app . In this scenario, MySQL server is running on the same instance side by side with your web server hosting the site. This is recommended to development purposes and has no additional cost.
MySQL in-app is not recommended for production applications. Please also keep in mind the following tips and limitations when using this feature:
https://azure.microsoft.com/en-us/blog/mysql-in-app-preview-app-service/
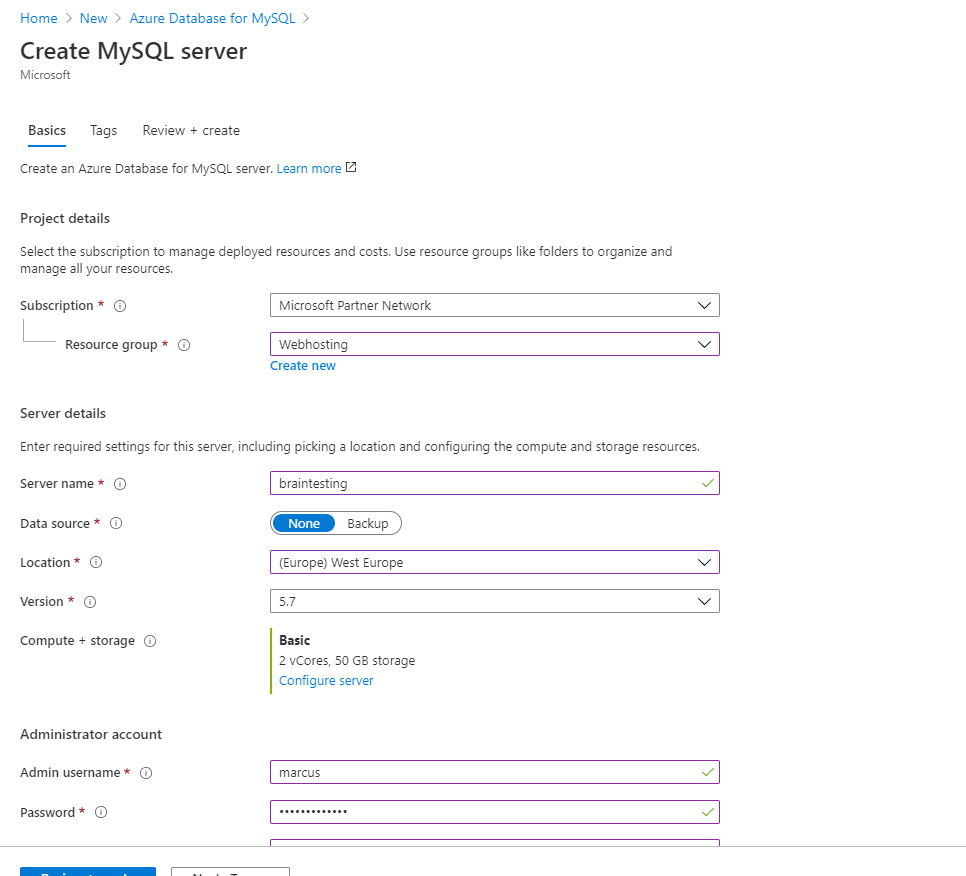
As you can see, I am not using the latest available version of MySQL in Azure, MySQL 8.0, which is the successor from MySQL 5.7.
In 8.0 there are many changes and I am not sure if it works smoothly for the latest WordPress release.
Create an Azure App Service (Web App)
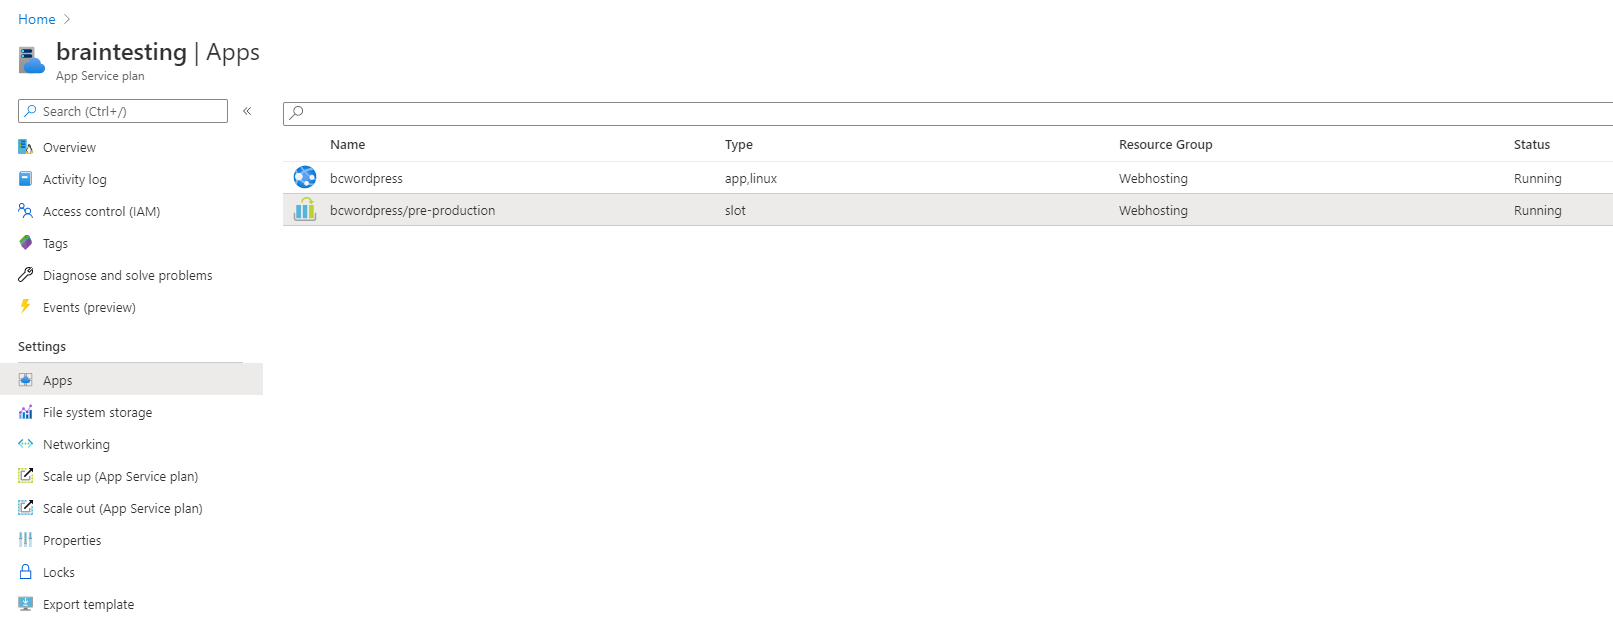
Now we can create the Azure App Service (Web App) which will host our WordPress installation. Each deployment slot later consist of one separate Web App, one with the type (app,linux) and one with the type slot.

Here you have two options to publish your Web App, via Code or Docker Container.
If you choose Code, you are limited to control the underlying infrastructure. You only can choose the desired Runtime stack (.NET versions, ASP.NET versions, Java versions, Tomcat versions, Node versions, PHP versions Python and Ruby versions), that’s it, you have no control on the underlying Virtual Machines as it is PaaS and behaves like a sandbox for you. It is all about your Code.
If you choose Docker Container, you must determine if using Linux or Windows Containers. In this case you have full control of your underlying infrastructure, as you can deploy your own Containers with all dependencies you need from Azure Container Registry, Docker Hub or a private Registry, which then runs on the VM instances of your Azure App Service plan.
So the choice depends on your requirements to the underlying infrastructure. If your app needs special dependencies which are not supported by the default VM instances in Code, you have to choose using Docker container.
Code and therefore the underlying Virtual Machines include over the years the support for a lot of frameworks, but it doesn’t support everything.
Deploy your Web App in Windows Containers on Azure App Service | Azure Friday
https://www.youtube.com/watch?v=Fe_AYBD5m0I
For our WordPress instance, we use Code, as my only dependency besides MySQL, is a PHP environment (framework) which is available on the VMs.
Check also that under App Service plan the previously created plan is selected.
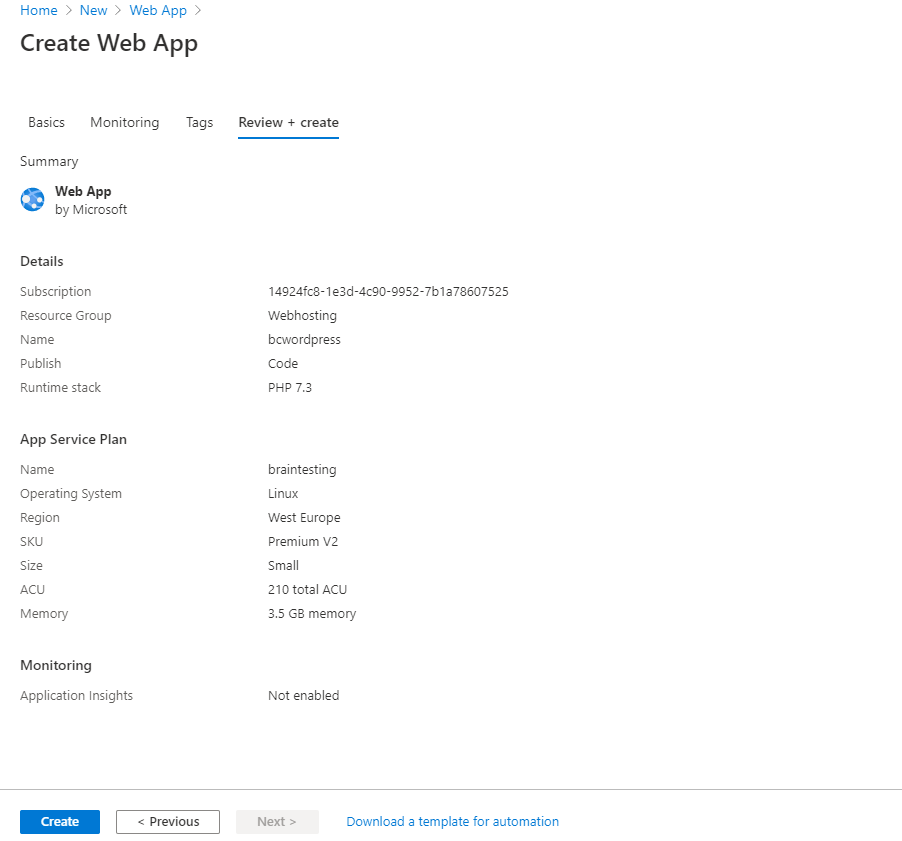
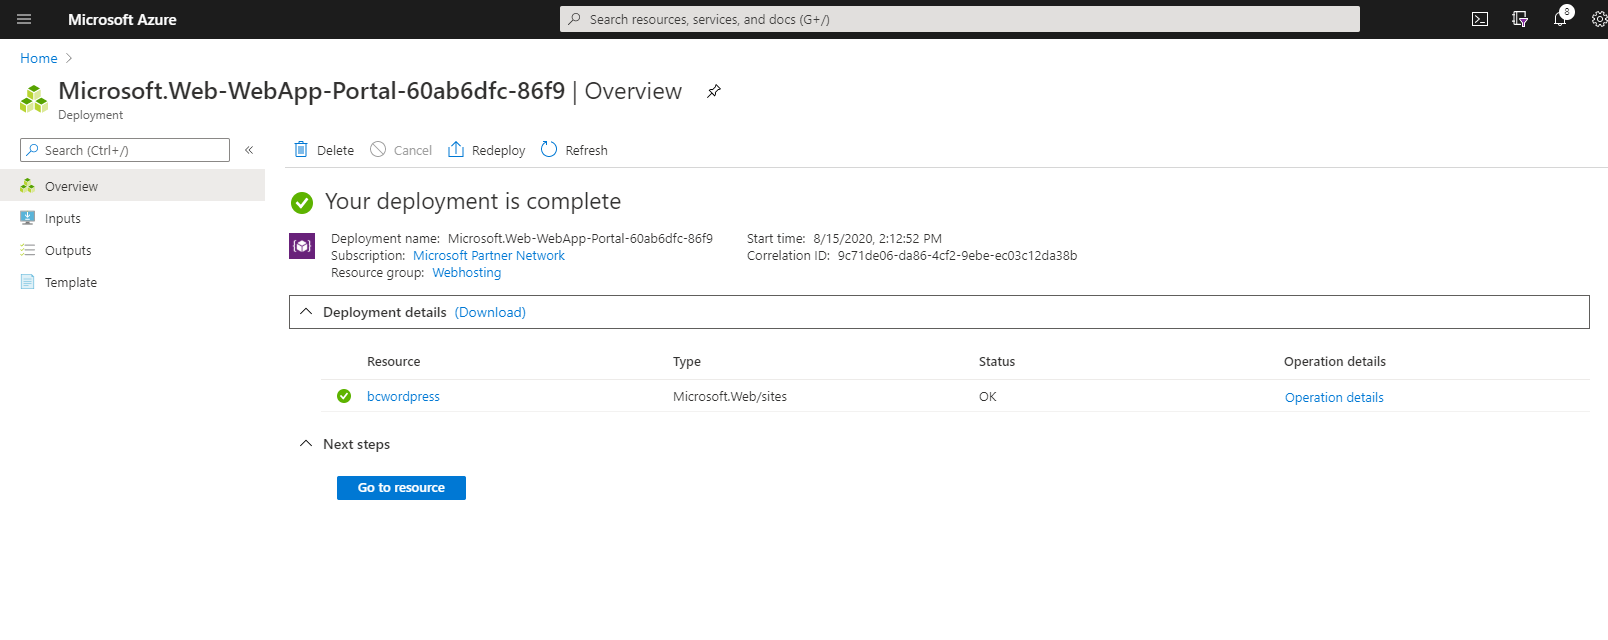
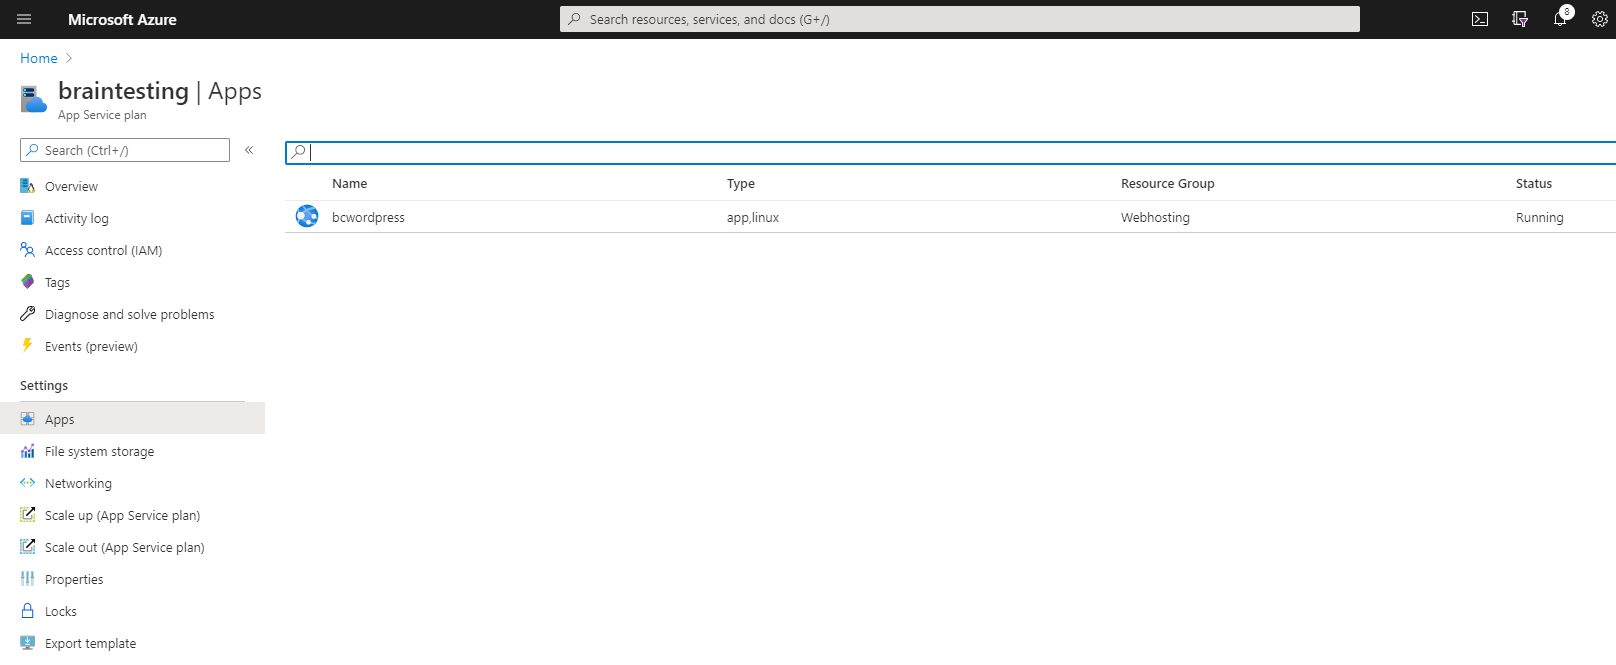
From now on, the Web App is listed as an App in our App Service plan.
Download WordPress into your Web App
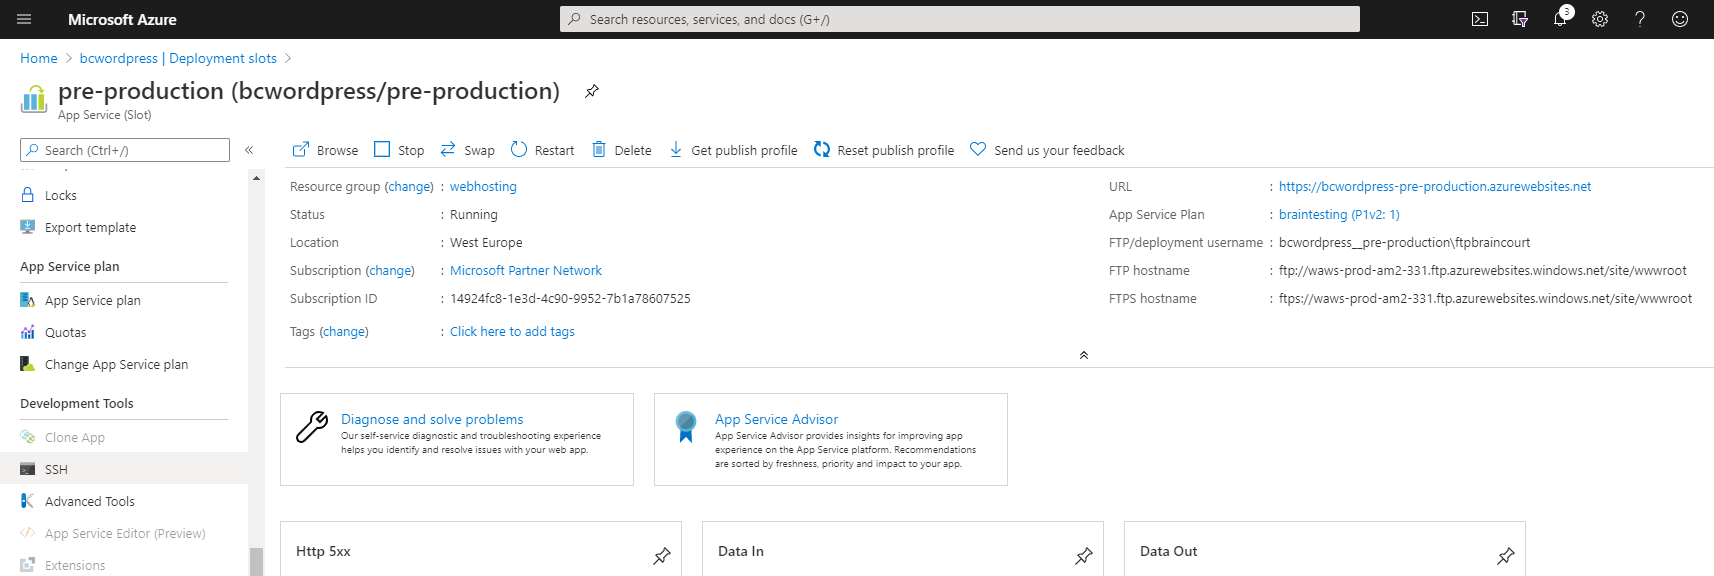
Now we go to the SSH Console inside the Web App to download the latest WordPress release.

The URL from the SSH Console is always
https://<App Service Name>.scm.azurewesites.net/webssh/host
https://bcwordpress.scm.azurewebsites.net/webssh/host

Now go to /home/site/wwwroot which is the root folder from the web server and your site. There you will find the default Azure HTML page hostingstart.html.
This page we replace as follows with the WordPress site.
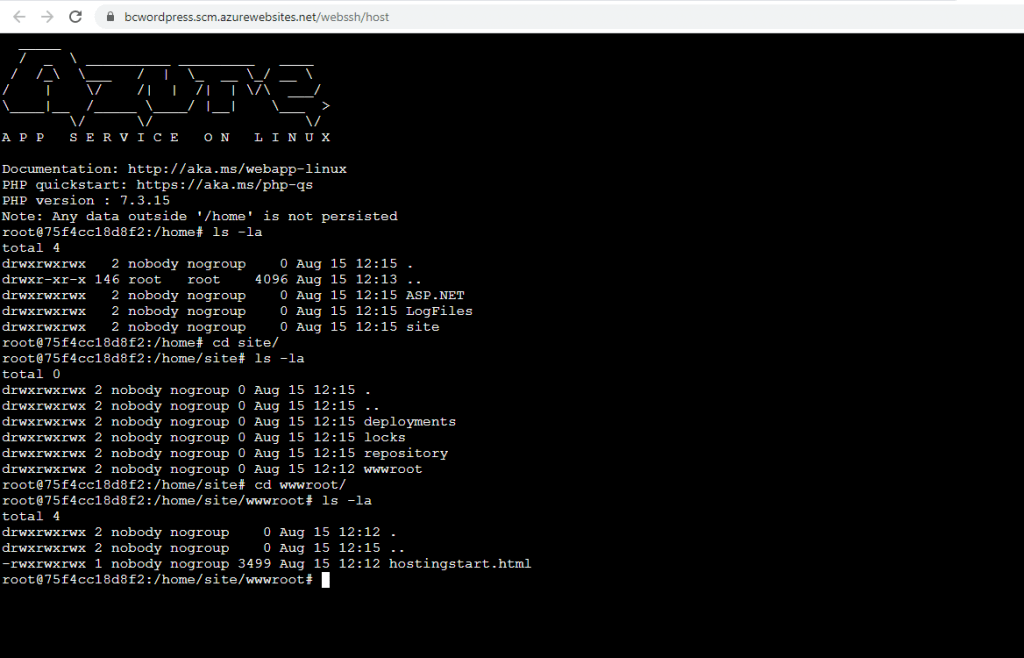
The real path for the web server root folder and your sites files is /var/www/html and there you will find a symbolic link wwwroot which points to /home/site/wwwroot

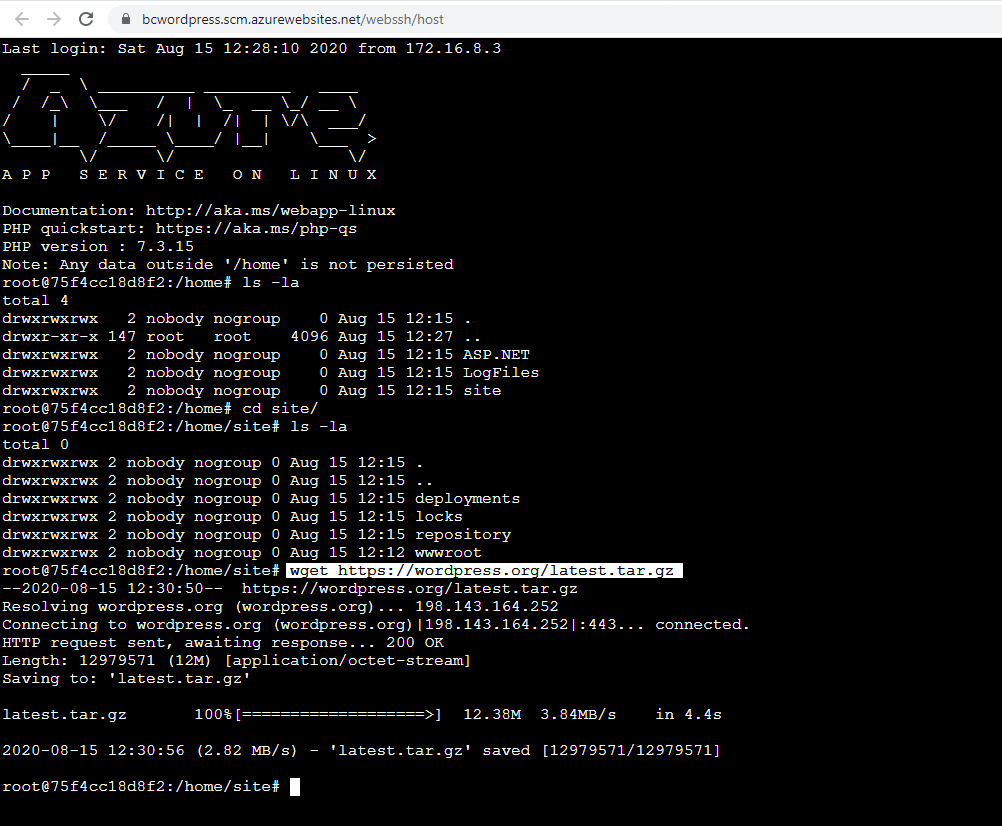
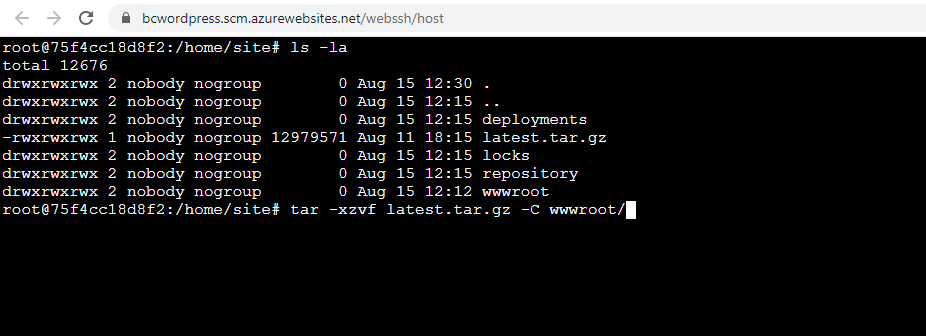
Go to /home/site and download the latest release of WordPress, after that unzip it into the wwwroot folder.
wget https://wordpress.org/latest.tar.gz
Then unzip the package into the wwwroot folder with -C (change to Directory DIR):
tar -xzvf latest.tar.gz -C wwwroot/
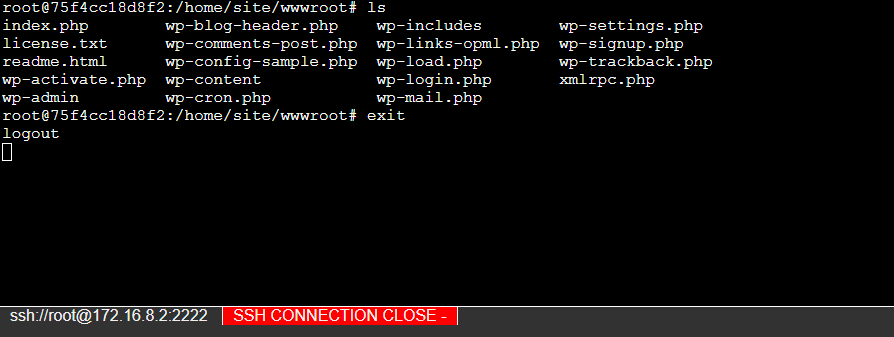
Move the content of the extracted WordPress folder one level up directly into /home/site/wwwroot/ with:
cd /wwwroot
mv wordpress/* .

Create your database
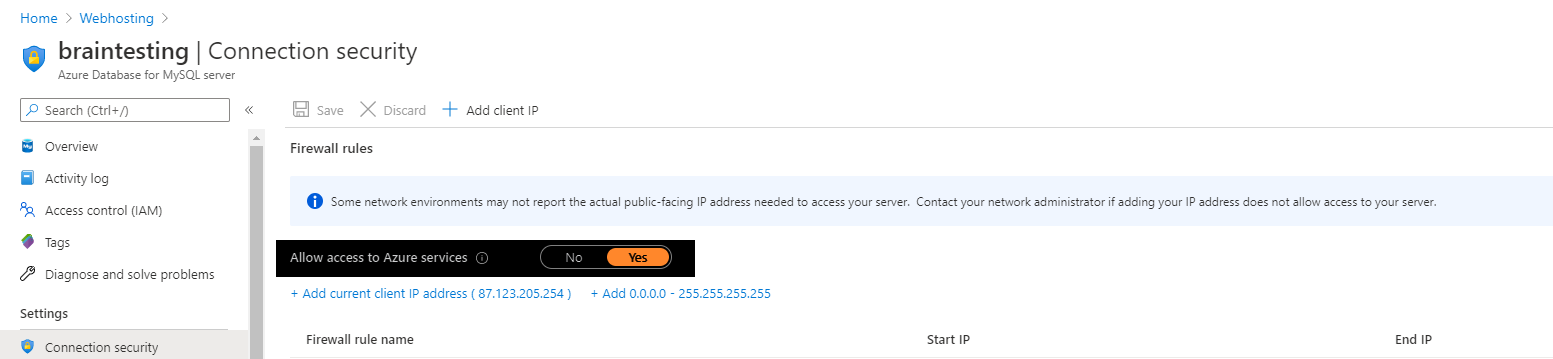
Now before we can call the URL and run the WordPress setup, we first have to create the database for WordPress. Therefore go to your Azure Database for MySQL Server and check that Allow access to Azure services is enabled in the Settings from Connection Security.
The Azure Web App Service instance with WordPress should be able to access and establish a connection to our database inside Azure Database for MySQL Server platform.
You can also add IP Adresses from them access to your databases should be allowed.
By default Enforce SSL connection is enabled on the Azure Database for MySQL Sever. WordPress on the other site by default not use SSL to connect to the database.
So you can disable Enforce SSL connection or better add a few lines into the wp-config.php file, to force WordPress connect over SSL to MySQL.
You will find below how to connect with FTPS to the web root folder to edit the wp-config.php file.
To enable and force WordPress to connect over SSL, add the three lines to the MySQL Settings section inside the wp-config.php file
/** Force SSL Connection to Azure Database for MySQL server */
define(‘MYSQL_CLIENT_FLAGS’, MYSQLI_CLIENT_SSL);
define(‘MYSQL_SSL_CA’, getenv(‘MYSQL_SSL_CA’));
define(‘MYSQL_CLIENT_FLAGS’, MYSQLI_CLIENT_SSL | MYSQLI_CLIENT_SSL_DONT_VERIFY_SERVER_CERT );
After that you need to restart the App Service and therefore the webserver, in order to be effective.
I think, I do not have to mention, that it is not recommended to disable SSL!
As the wp-config.php file is created during the WordPress setup process, and isn’t included in the downloaded files from beginning, you can manually create a wp-config.php file by locating the sample file named wp-config-sample.php (located in the root install-directory), editing it as required, and then saving it as wp-config.php.
Note: The contents of the wp-config-sample.php file are in a very specific order. The order matters. If you already have a wp-config.php file, rearranging the contents of the file may create errors on your blog.https://wordpress.org/support/article/editing-wp-config-php/
If you want the WordPress setup process to create the wp-config.php file automatically, you have to disable SSL temporarily, as you can’t force here WordPress to connect with SSL to your database. After adding the lines to force SSL, enable SSL.

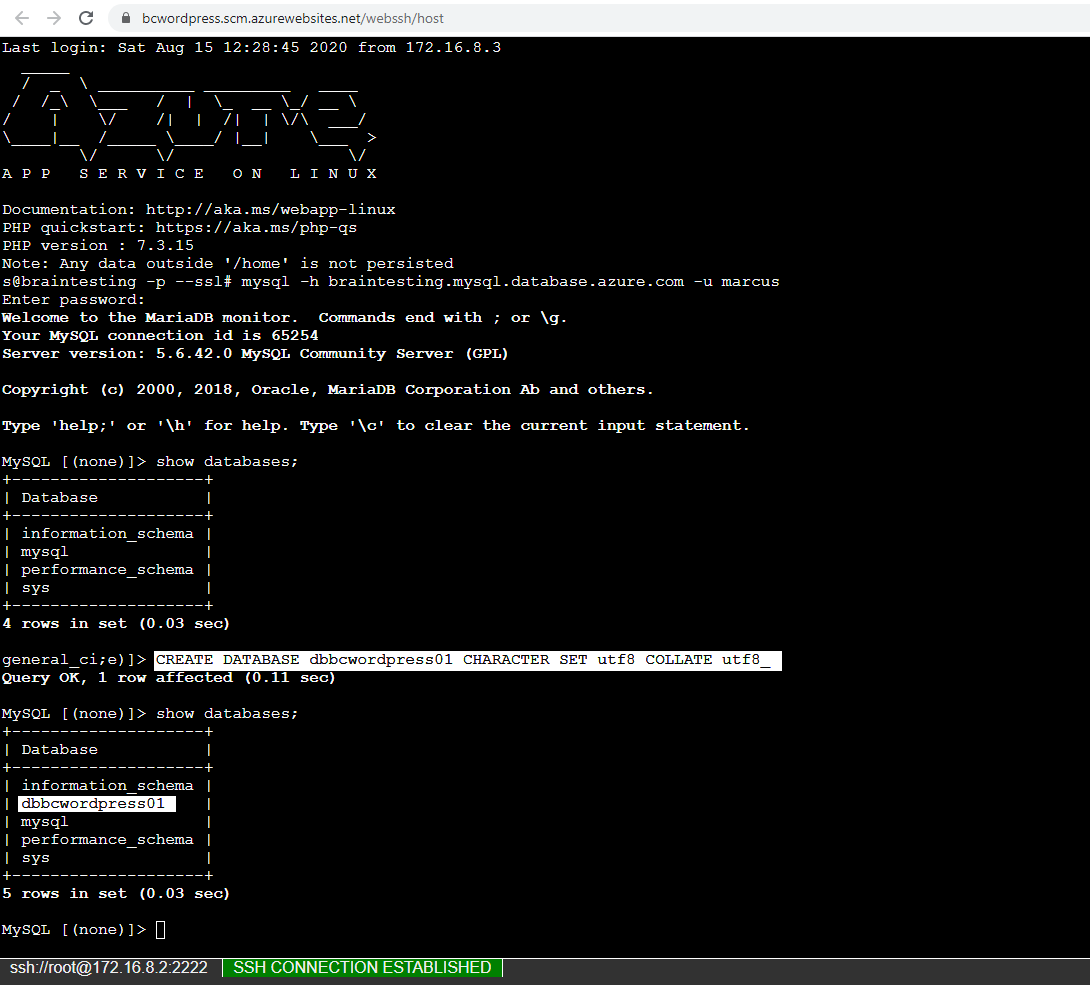
Now go back to the Azure App Service (Web App) and open again the SSH Console. Alternatively you can connect from a Virtual Machine to MySQL, if allowed in the Connection security.
mysql -h braintesting.mysql.database.azure.com -u marcus@braintesting -p –ssl
CREATE DATABASE dbbcwordpress01 CHARACTER SET utf8 COLLATE utf8_general_ci;
CREATE USER ‘wordpress’@’%’ IDENTIFIED BY ‘password’;
GRANT ALL PRIVILEGES ON dbbcwordpress01.* TO ‘wordpress’@’%’;
You can clear the MySQL screen by executing
system clear

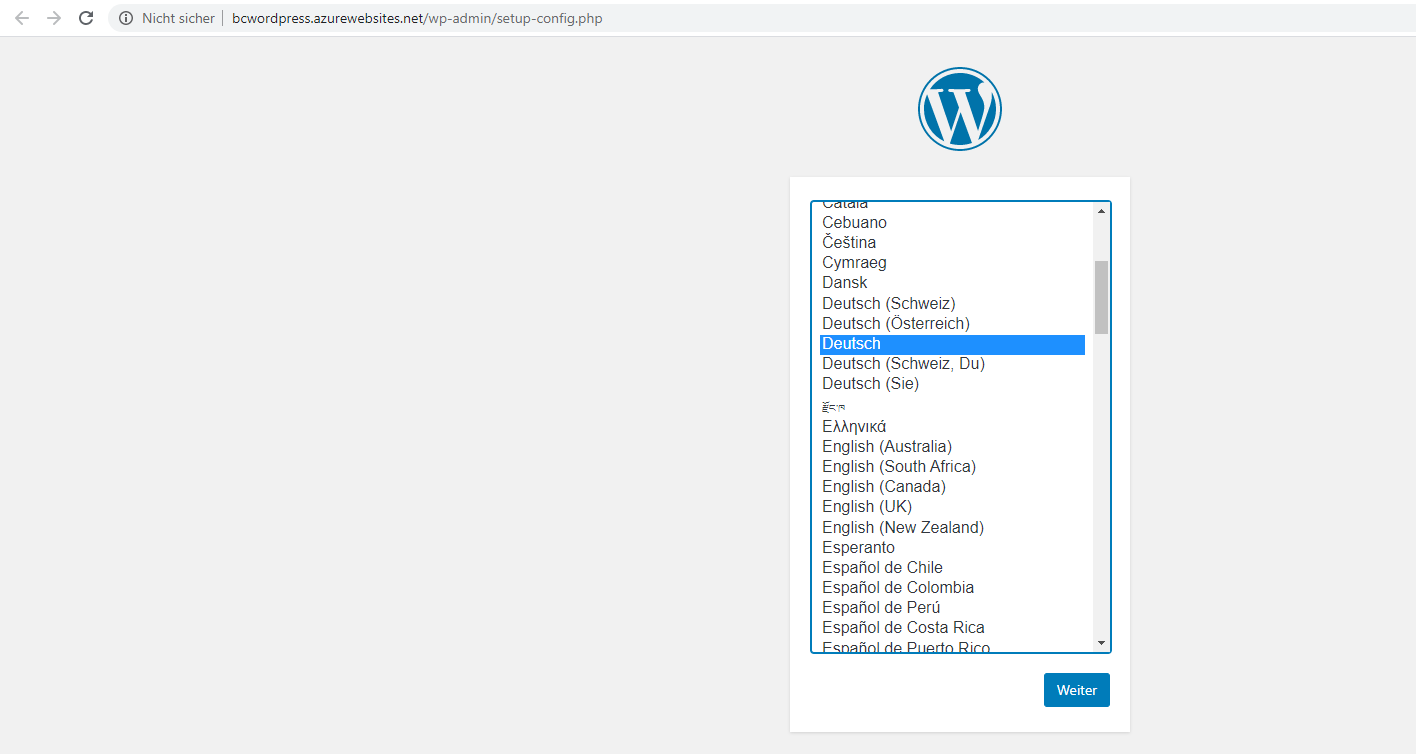
Install WordPress
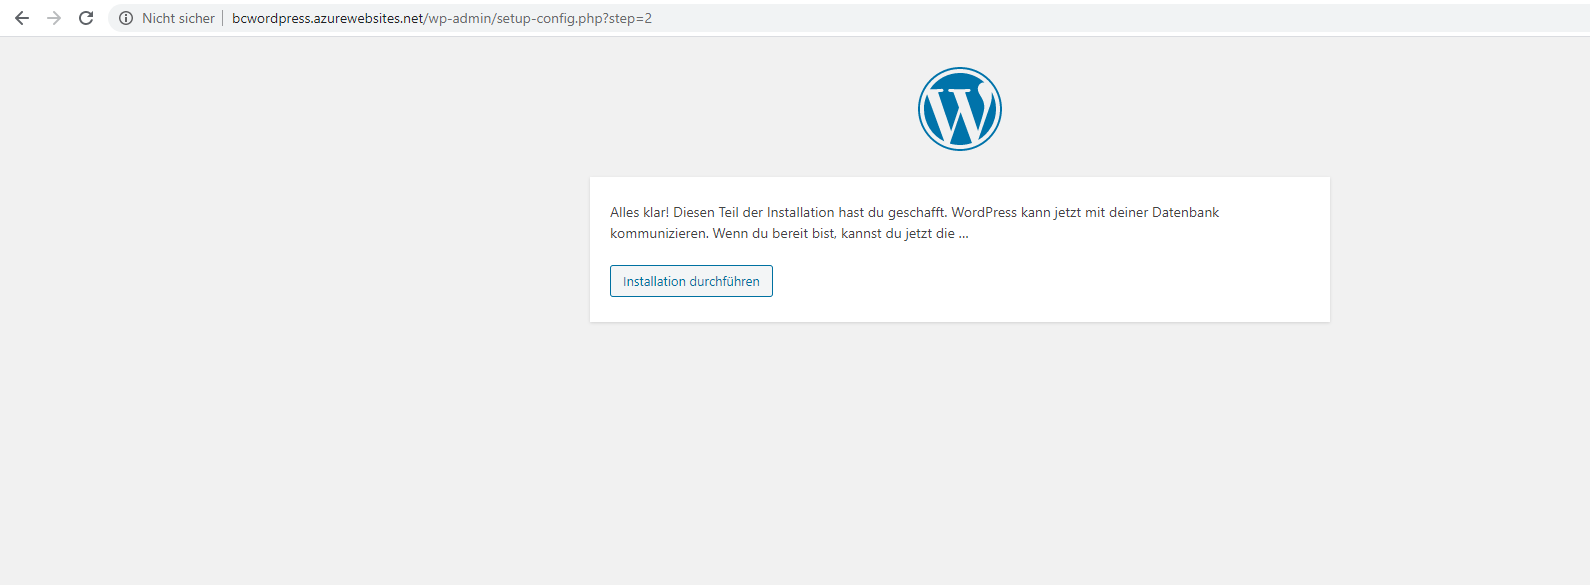
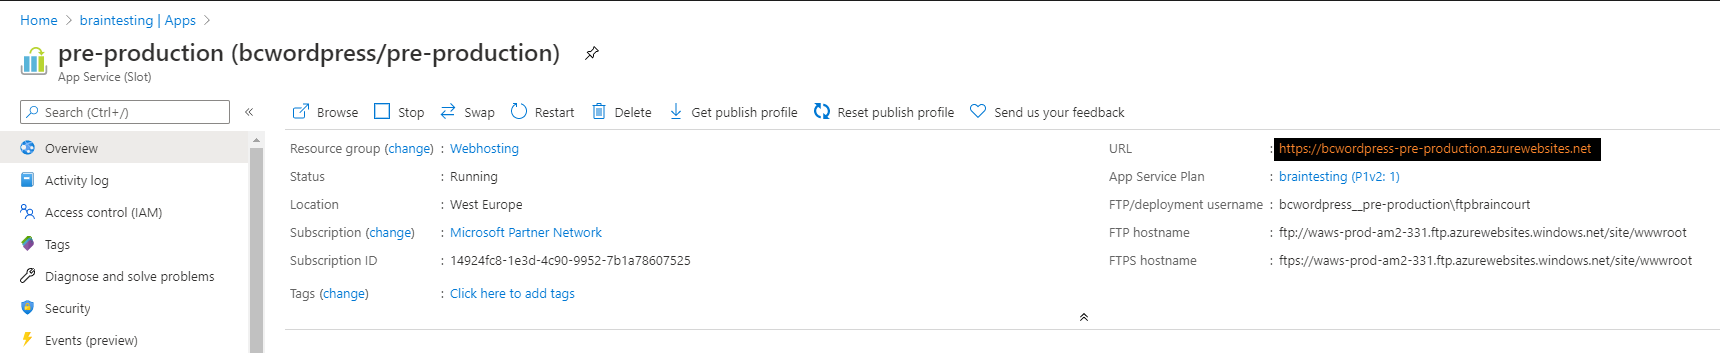
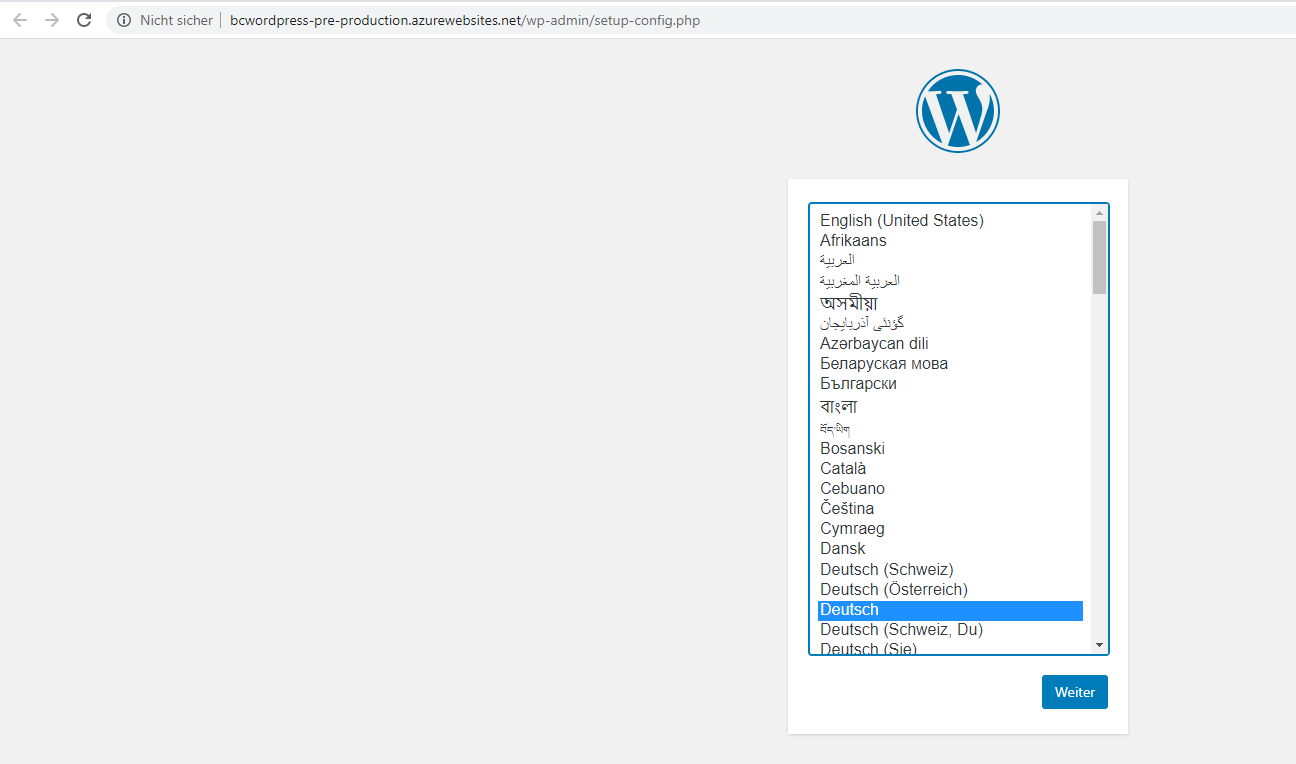
At this point we can run the setup and therefore open the URL from the App Service.

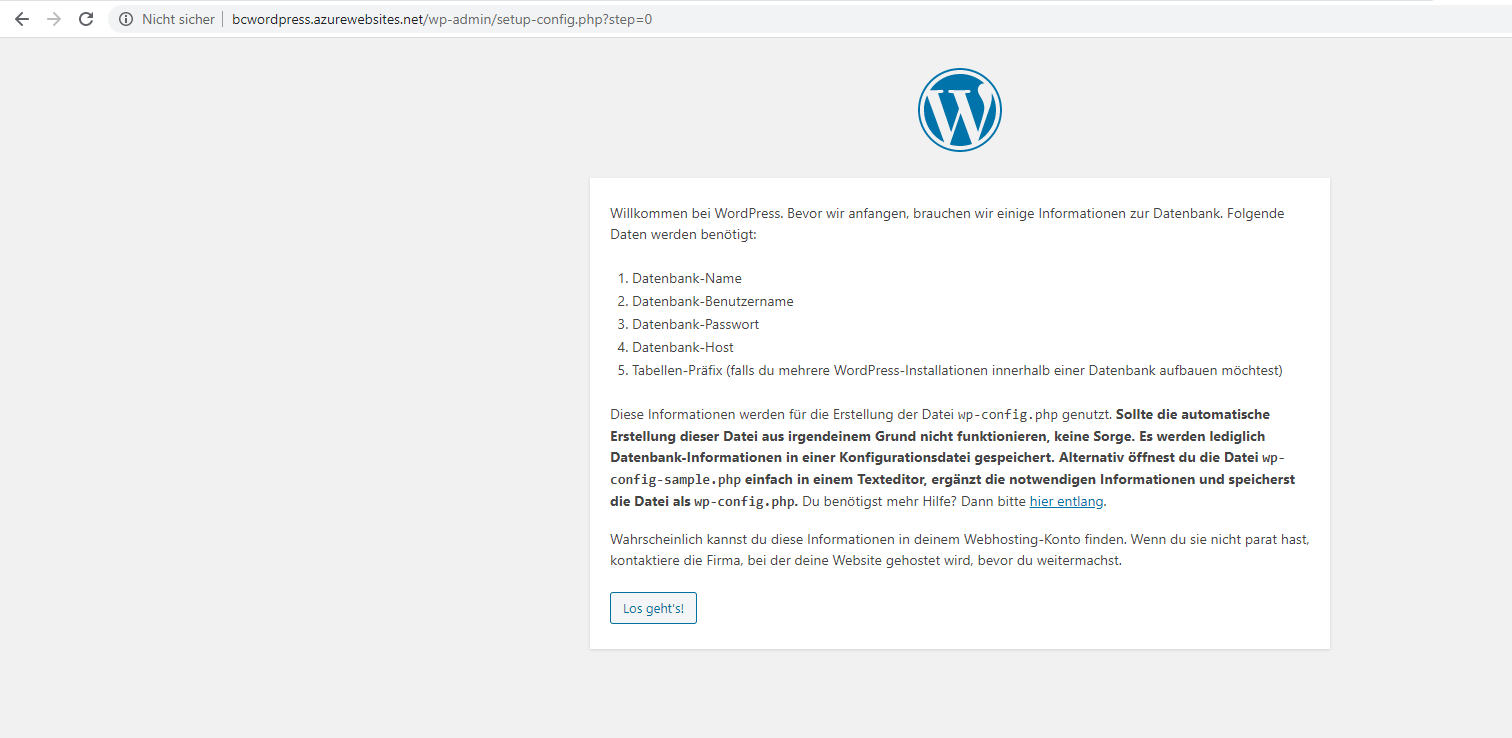
The database host FQDN you will find in your Azure Database for MySQL Server overview page.


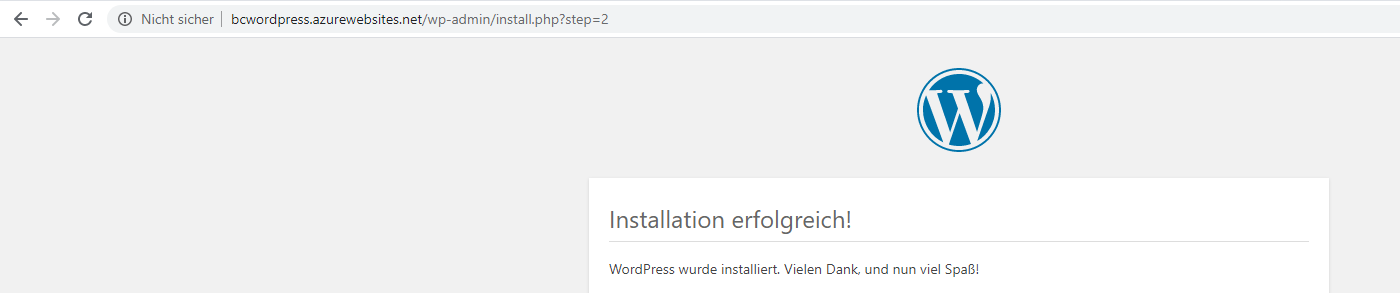
Setup completed successfully! Now we are finish with the production slot and Web App.
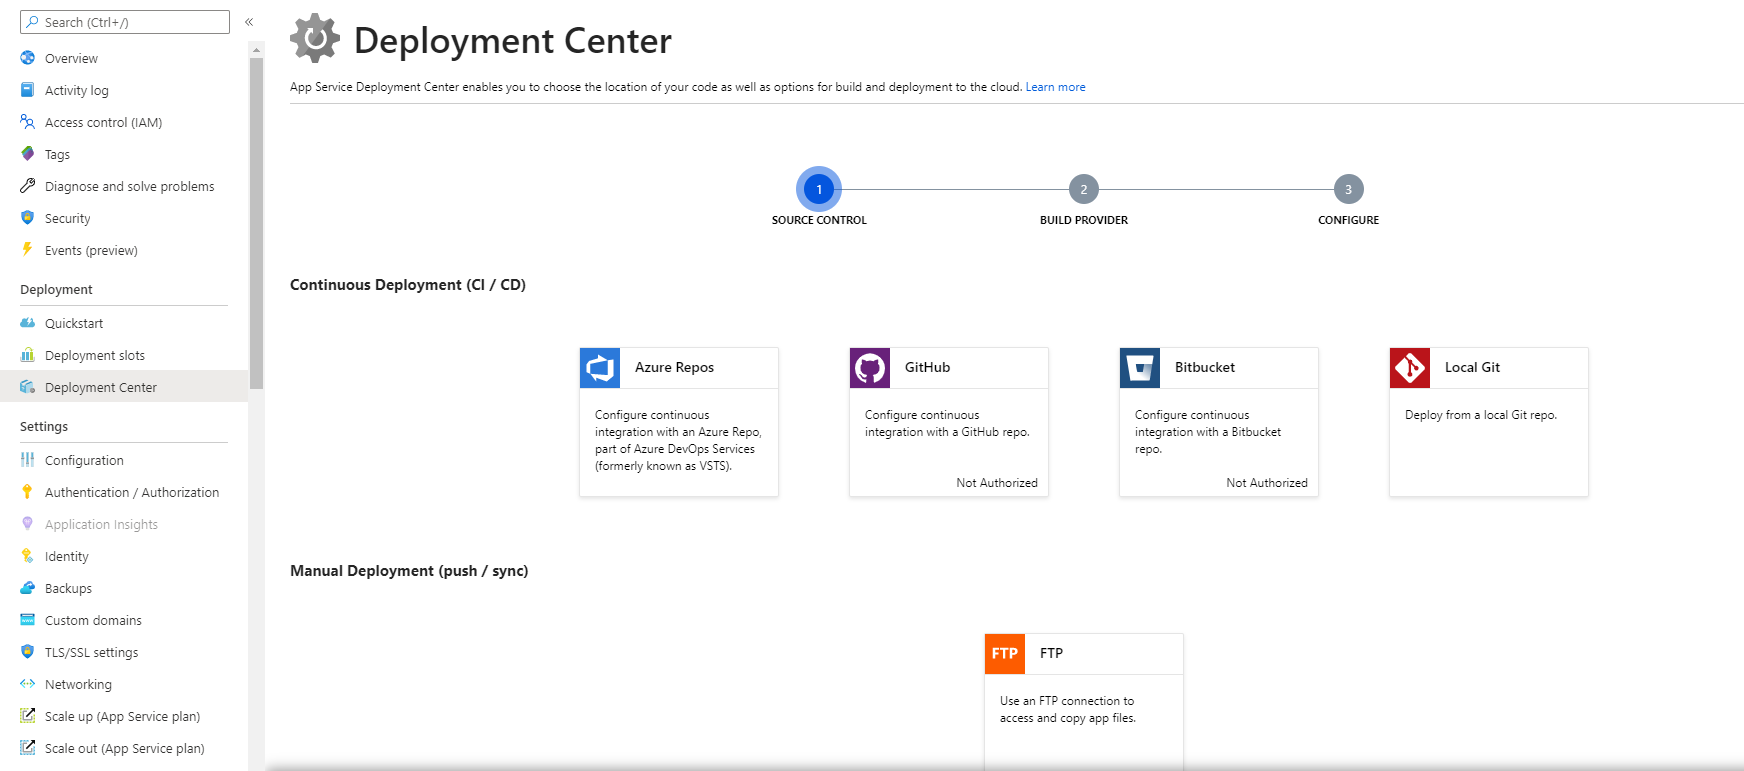
FTP Access to your Webroot Folder
You can access the web root folder per FTP as follows:
Click within the App Service on Deployment Center and there on FTP, there you can set the user credentials and get the FTPS Endpoint URL to logon.
Create a second slot
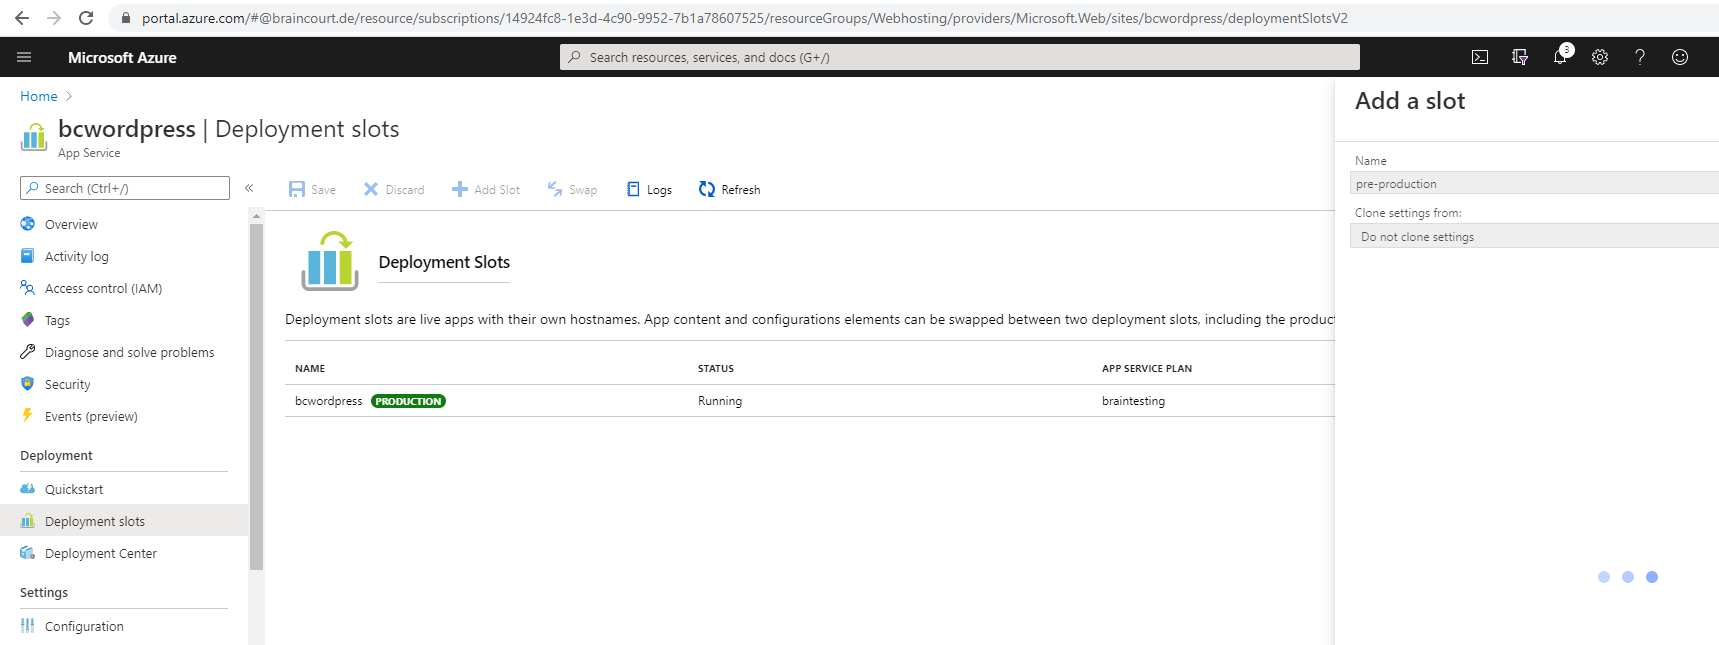
As we want two WordPress instances, one for production and one for development, we need to create a second slot.
So go to the App Service and click under the Deployment section on Deployment slots and click on Add Slot. Enter a name and select Do not clone settings as we not use Applications settings and the General settings like the Runtime stack will anyway be the same as the production slot without cloning. If you have modified some General settings and want for both slots the same, then you have to clone the settings from the production slot.
Azure Functions deployment slots
https://docs.microsoft.com/en-us/azure/azure-functions/functions-deployment-slots
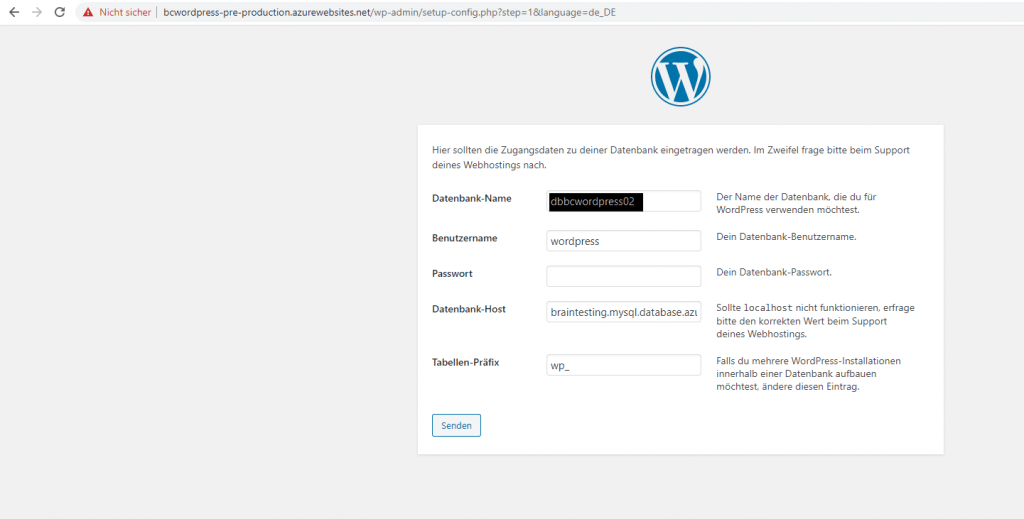
For the pre-production slot do the same as before, download wordpress, create a database and run the setup.
For the database dbbcwordpress02 I use the same user as created for dbbcwordpress01, the user WordPress and grant also privileges to dbbcwordpress02 database.
GRANT ALL PRIVILEGES ON dbbcwordpress02.* TO ‘wordpress’@’%’;
Open the pre-production Slot Site, Azure always use for the slot sites the URL from the App Service and append -<slotname>
Do the same Setup process for the Slot Site and user the second created Database in my case dbbcwordpress02.
Append URL settings for swapping slots
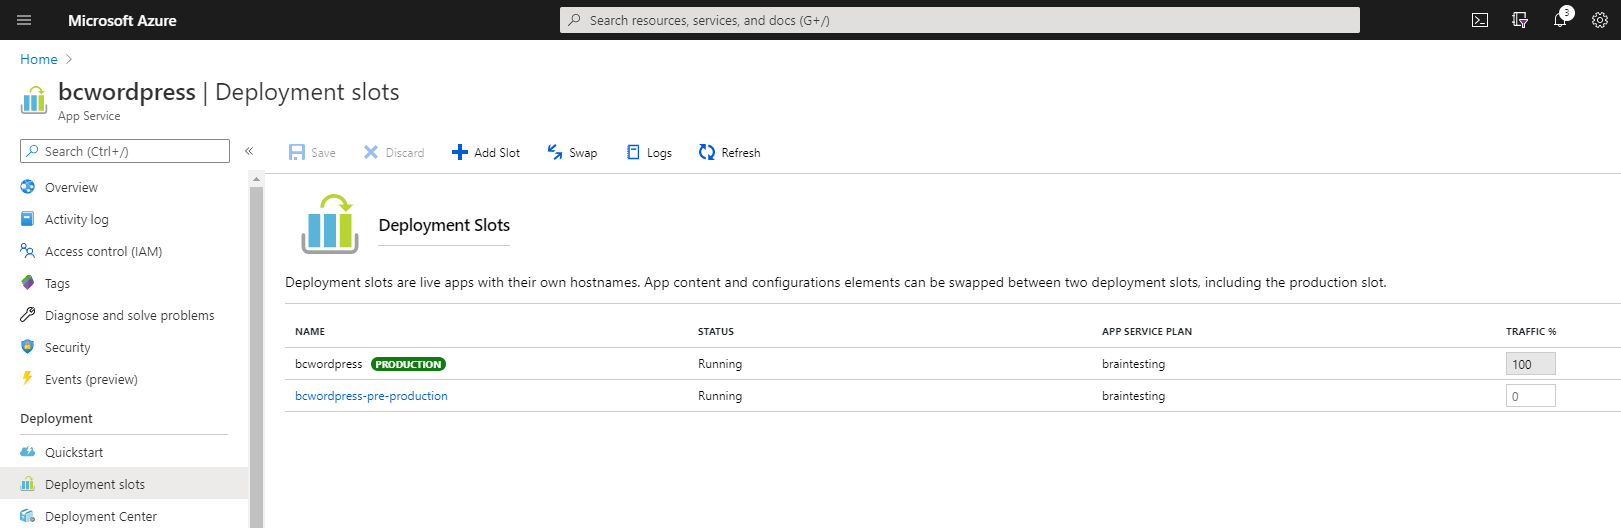
Finally we have two WordPress sites, one in the production slot and one in the pre-production slot. Each slot is separate website with his own database and unique URL.
Before we can swap the slots without running into problems, regarding the change of the URLs, we have to add the following lines into the wp-config.php file of each site (Slot). These lines will update the URL which is normally set fix in the WordPress database of each instance.
If you create in Azure directly a new WordPress Site, these lines automatically will append, but in our case we created a new App Service (Web App) and installed manually WordPress to deploy it as Code. The direct way creates a WordPress instance running inside a Container and is coming from a Container Image.
//Relative URLs for swapping across app service deployment slots
define(‘WP_HOME’, ‘http://’. filter_input(INPUT_SERVER, ‘HTTP_HOST’, FILTER_SANITIZE_STRING));
define(‘WP_SITEURL’, ‘http://’. filter_input(INPUT_SERVER, ‘HTTP_HOST’, FILTER_SANITIZE_STRING));
define(‘WP_CONTENT_URL’, ‘/wp-content’);
define(‘DOMAIN_CURRENT_SITE’, filter_input(INPUT_SERVER, ‘HTTP_HOST’, FILTER_SANITIZE_STRING));
After that you need to restart the App Service and therefore the webserver, in order to be effective.
Note: After you added the relative URLs into wp-config.php, you can’t edit them in the General Settings in the backend of WordPress, and they will be grayed out there, from now on they will be controlled with the wp-config.php file
From now on, you can successfully swap the slots with one click and the development site is running under the production URL and vice versa.
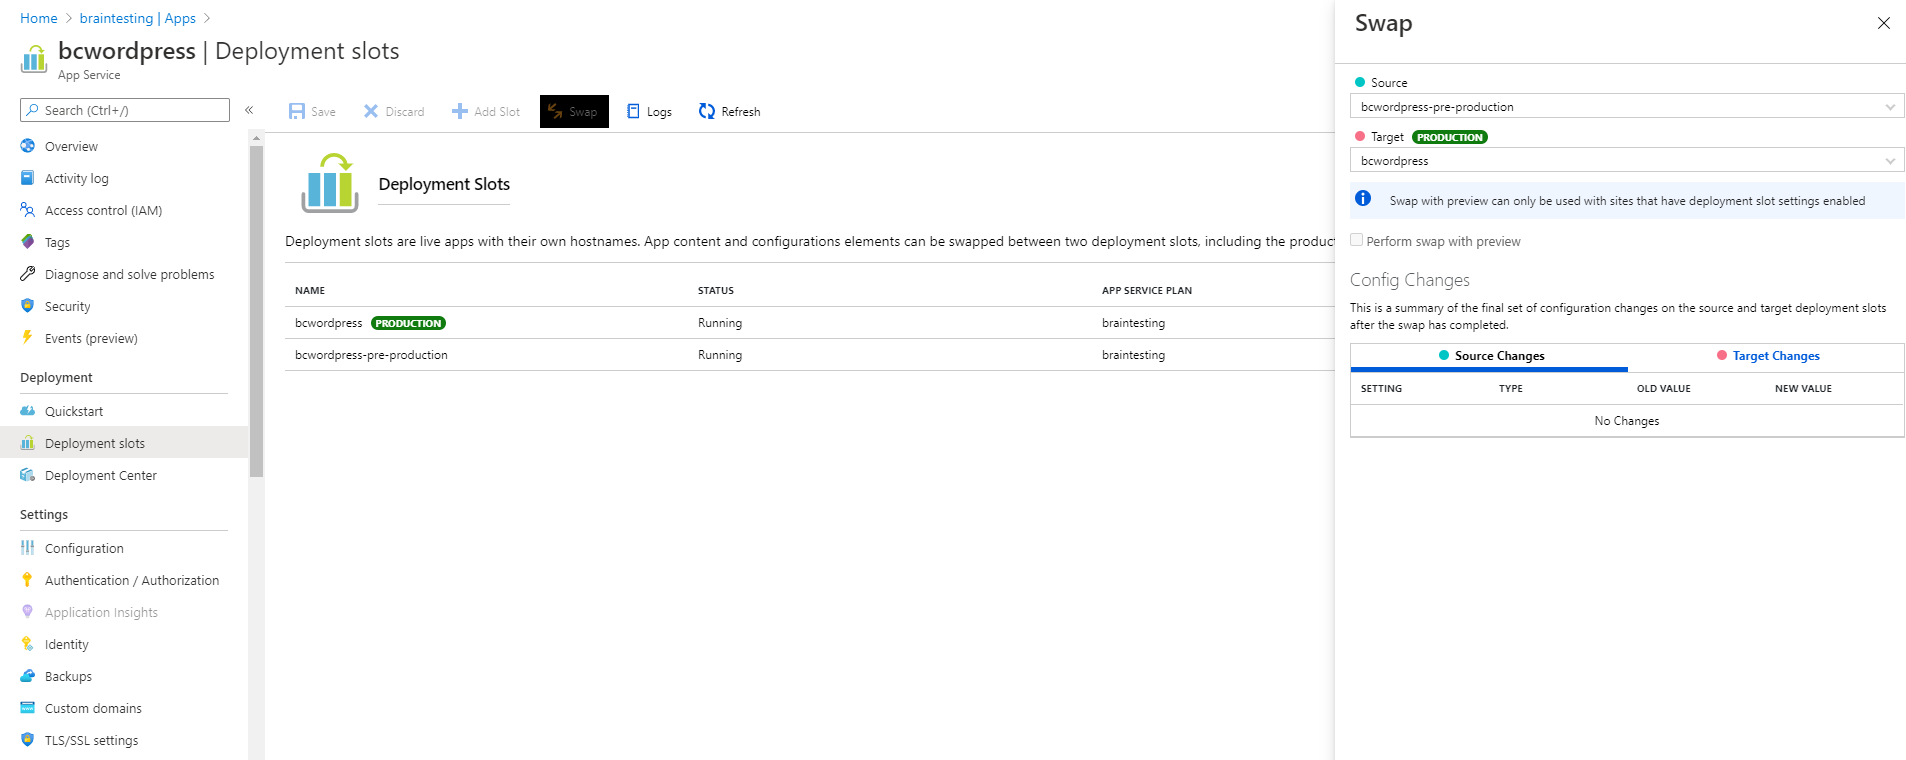
Set up staging environments in Azure App Service | What happens during a swap?
https://docs.microsoft.com/en-us/azure/app-service/deploy-staging-slots
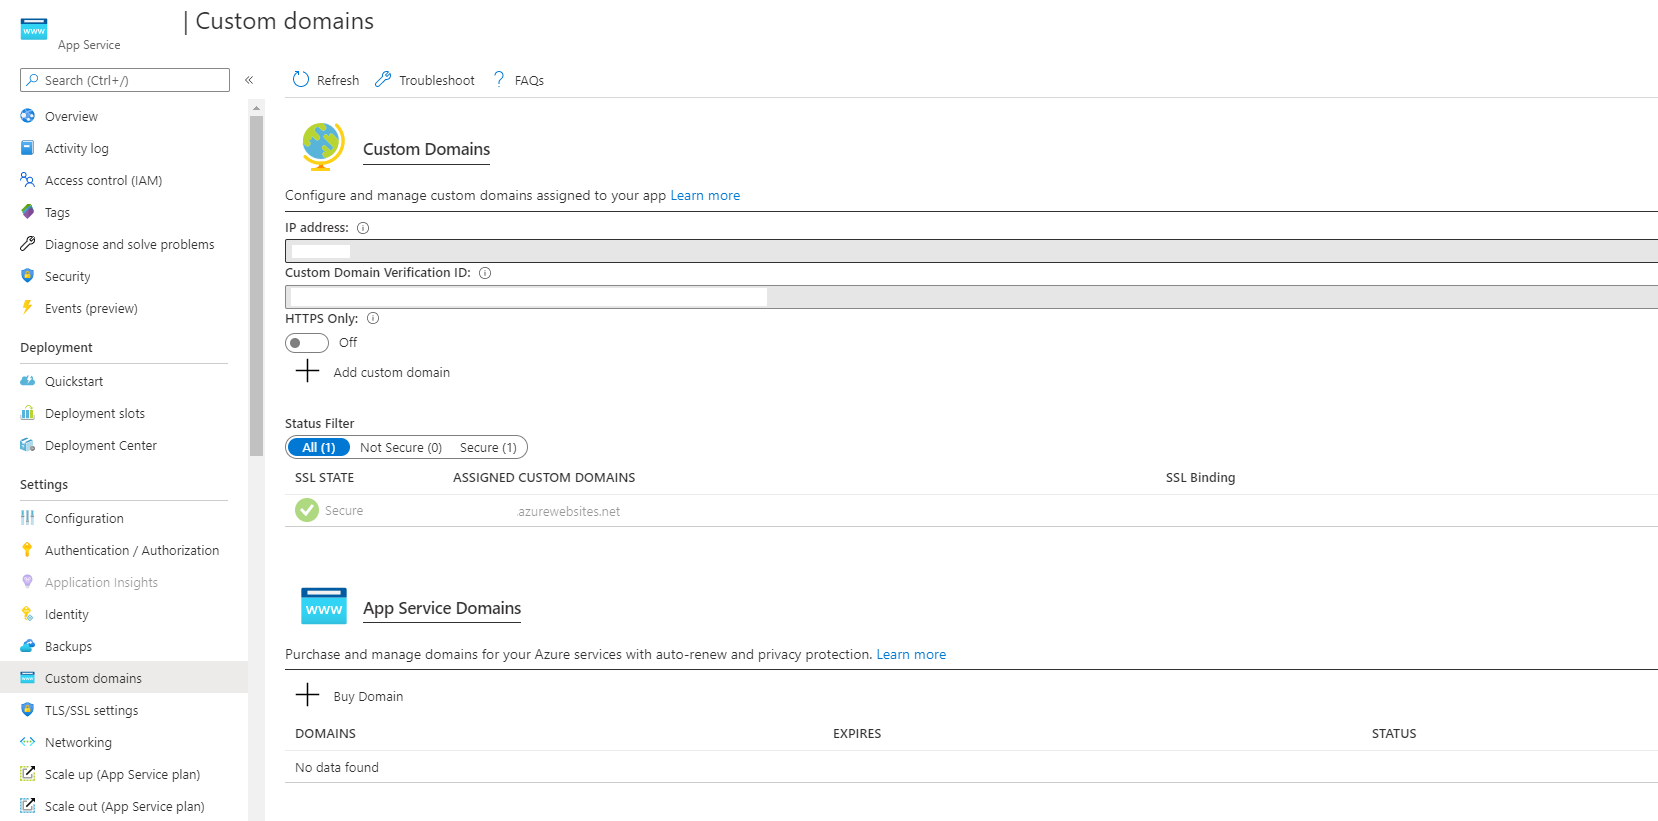
Add a custom domain
In order to use an own FQDN for your WordPress site, you have to add a custom domain in the App Service Settings menue under Custom Domain. As both slots prod and dev are separate Web Apps with it’s own URL, you have to do the following steps for both apps.
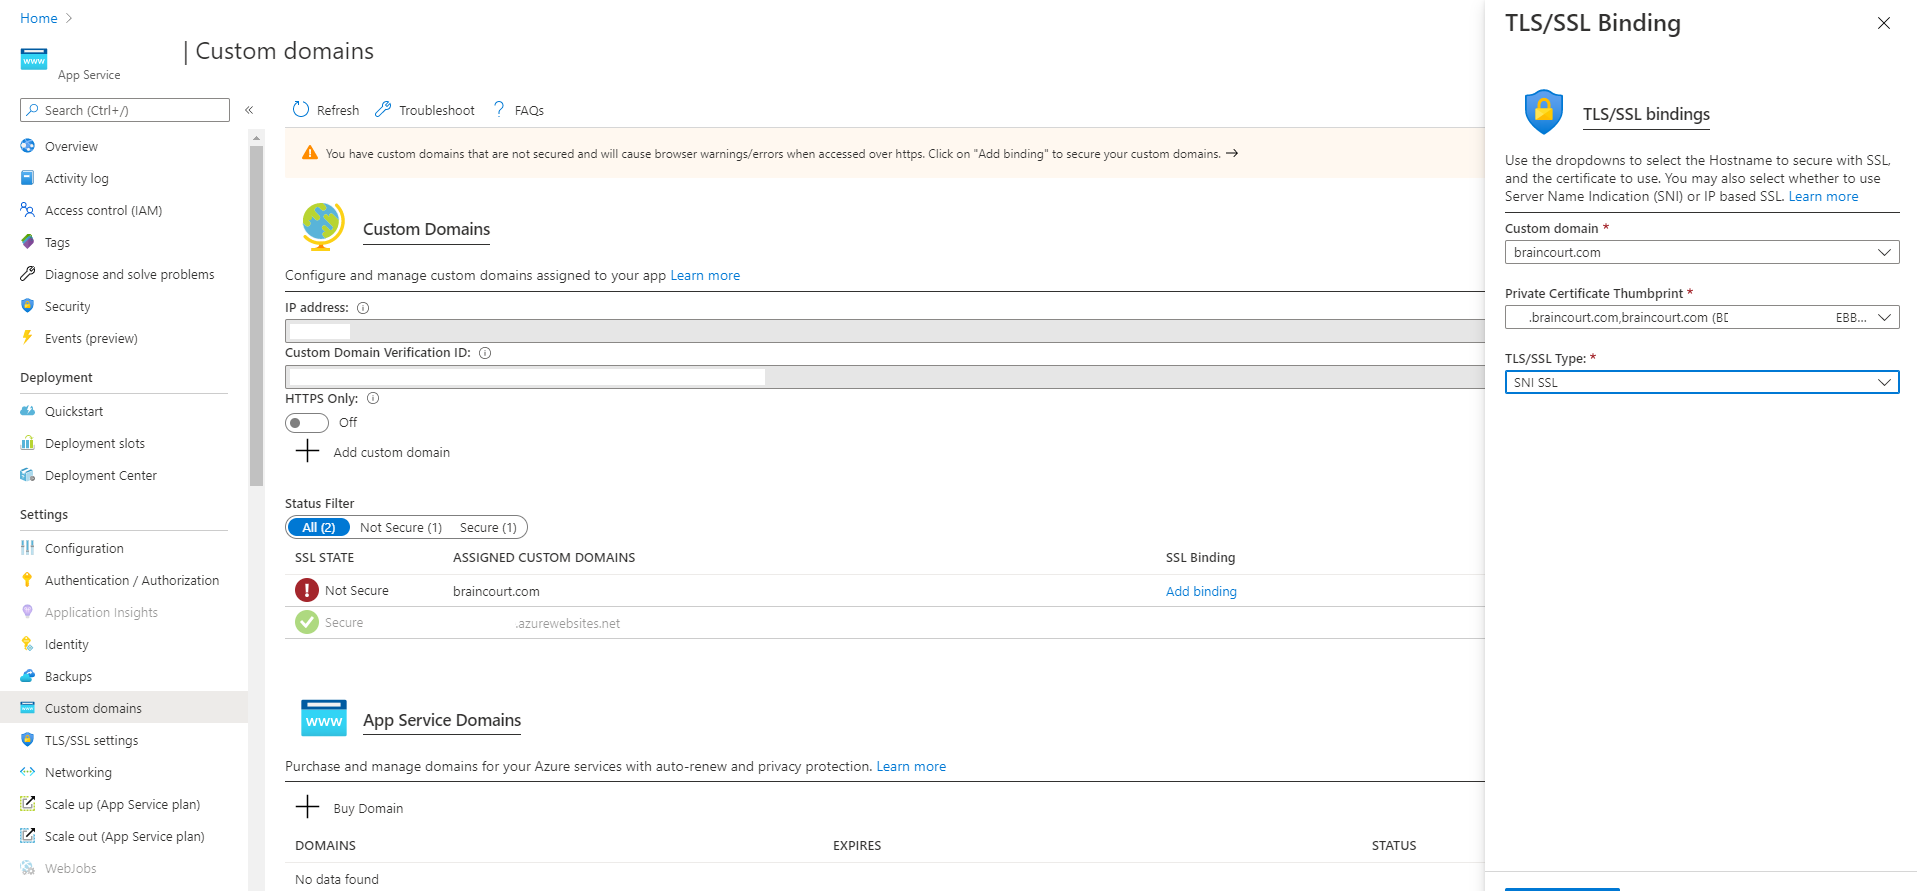
After adding successfully the custom domain <hostname>.braincourt.com, you have to prove the ownership with an A-Record and TXT-Record at your DNS provider, I have to add an SSL Binding.
On the screenshots I only use domain.tld as a custom domain, but in most cases you use an FQDN like hostname.domain.tld.
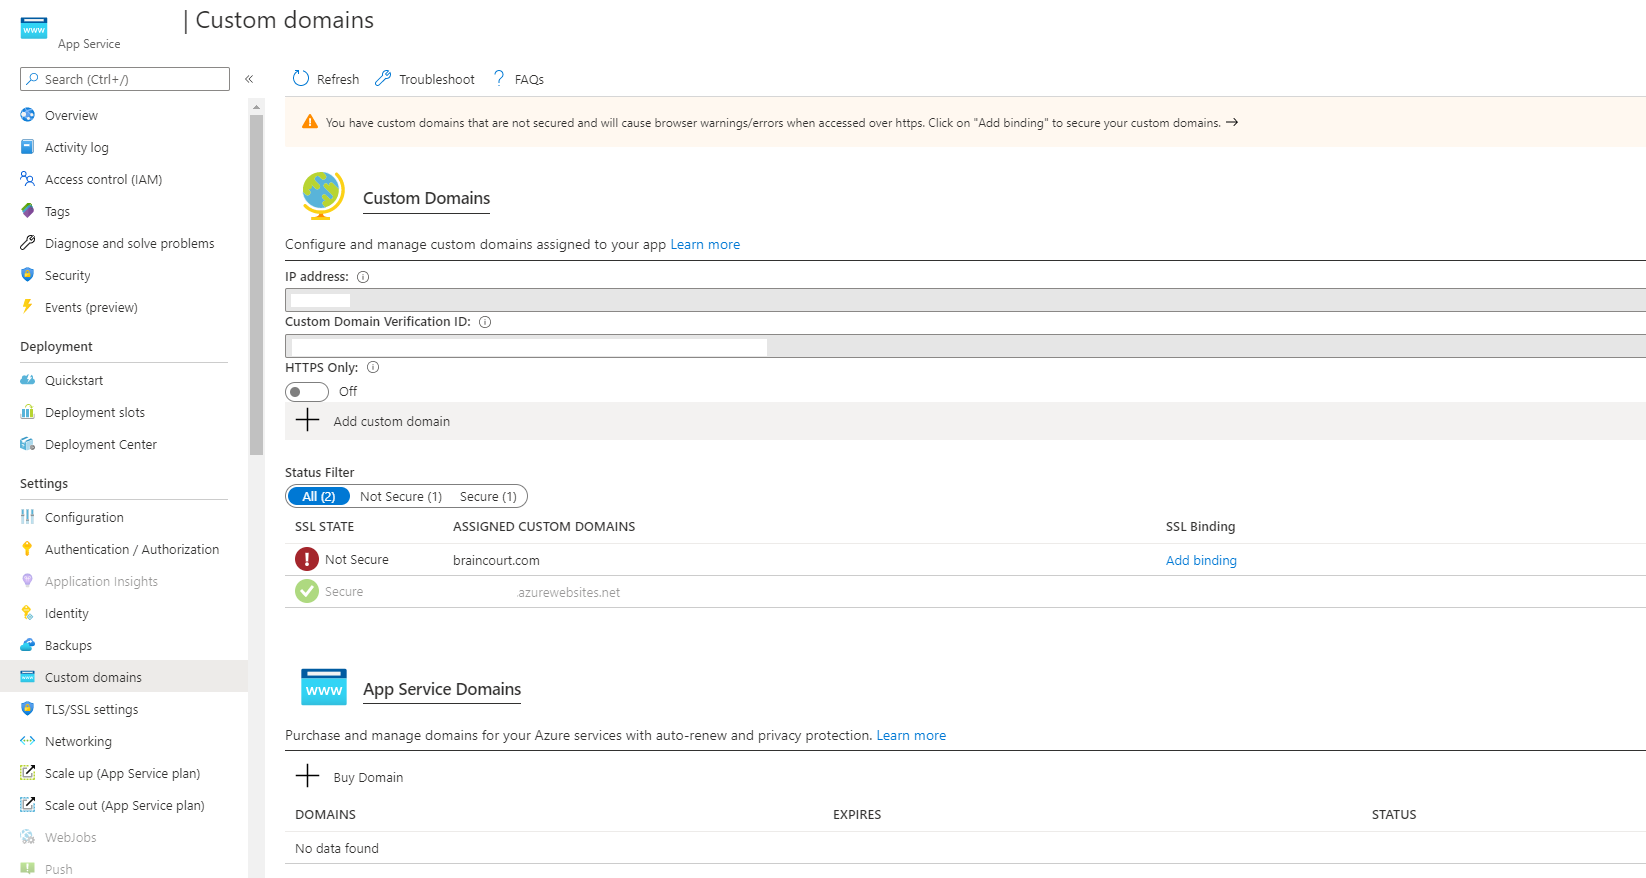
So I click on Add binding and have to provide a certificate which is matching the custom domain with a wildcard entry or complete FQDN I want to use.
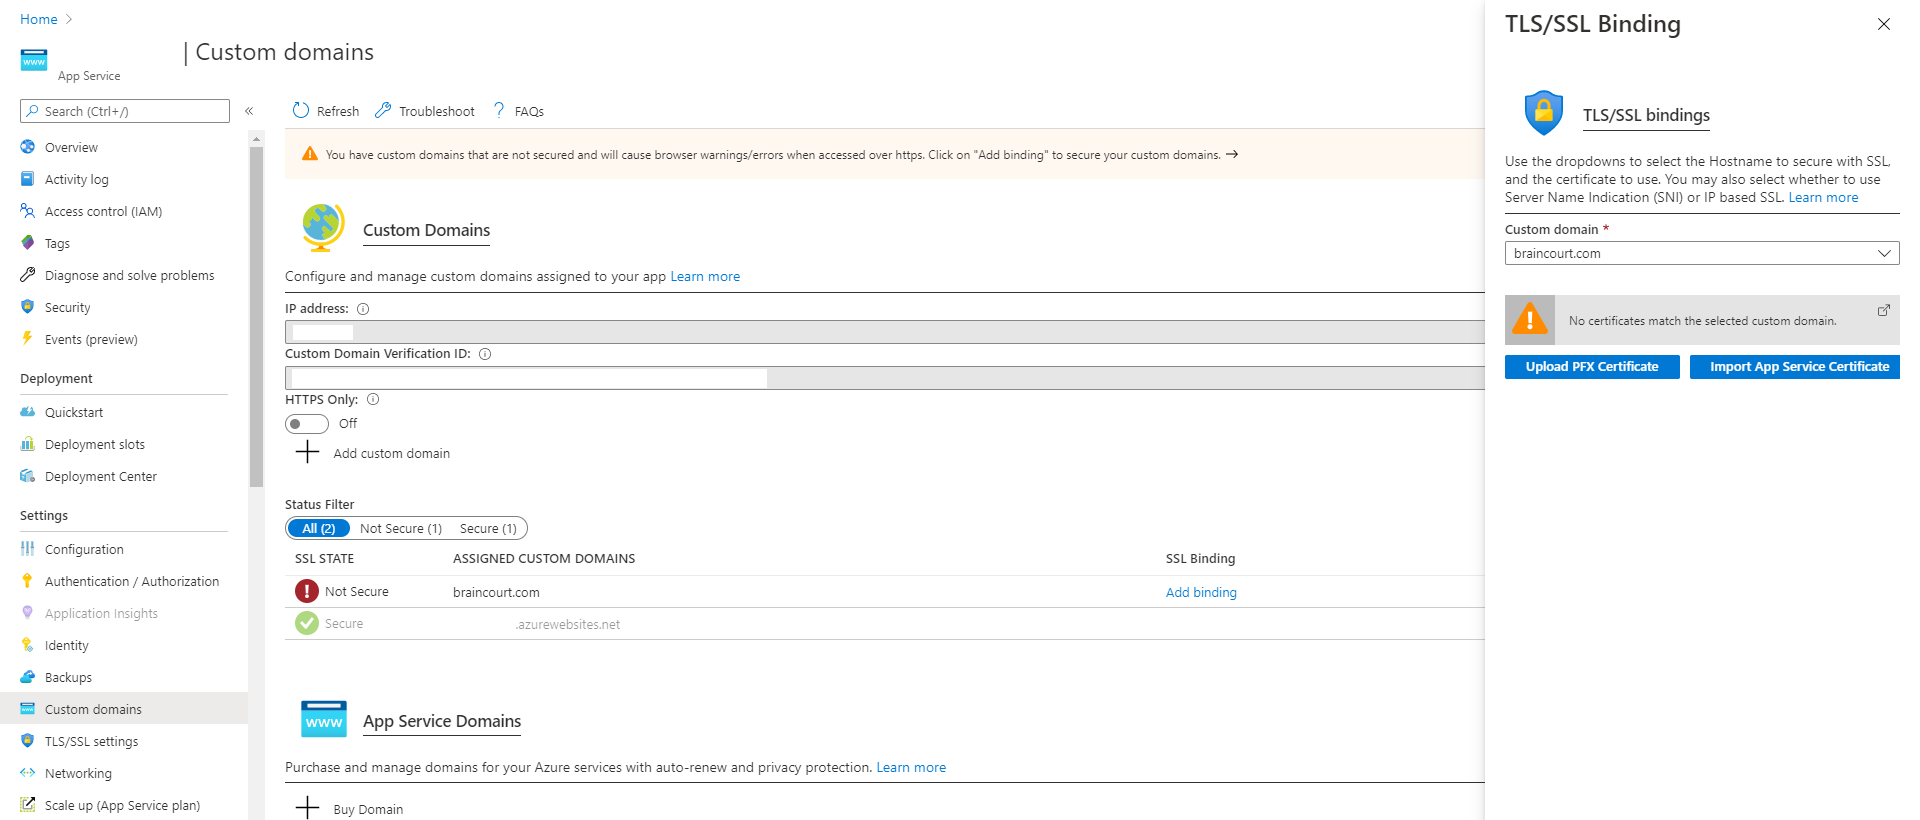
For the TLS/SSL Type, I will use SNI SSL (Server Name Indication), so later if I want, I can add multiple SSL Bindings with different FQDNs on the same IP address and TCP port. The webserver can see the requested hostname which is not encrypted in the original SNI extension and therefore knows what binding is to use for a request.
Secure a custom DNS name with a TLS/SSL binding in Azure App Service
https://docs.microsoft.com/en-us/azure/app-service/configure-ssl-bindings
Server Name Indication (SNI)
https://en.wikipedia.org/wiki/Server_Name_Indication
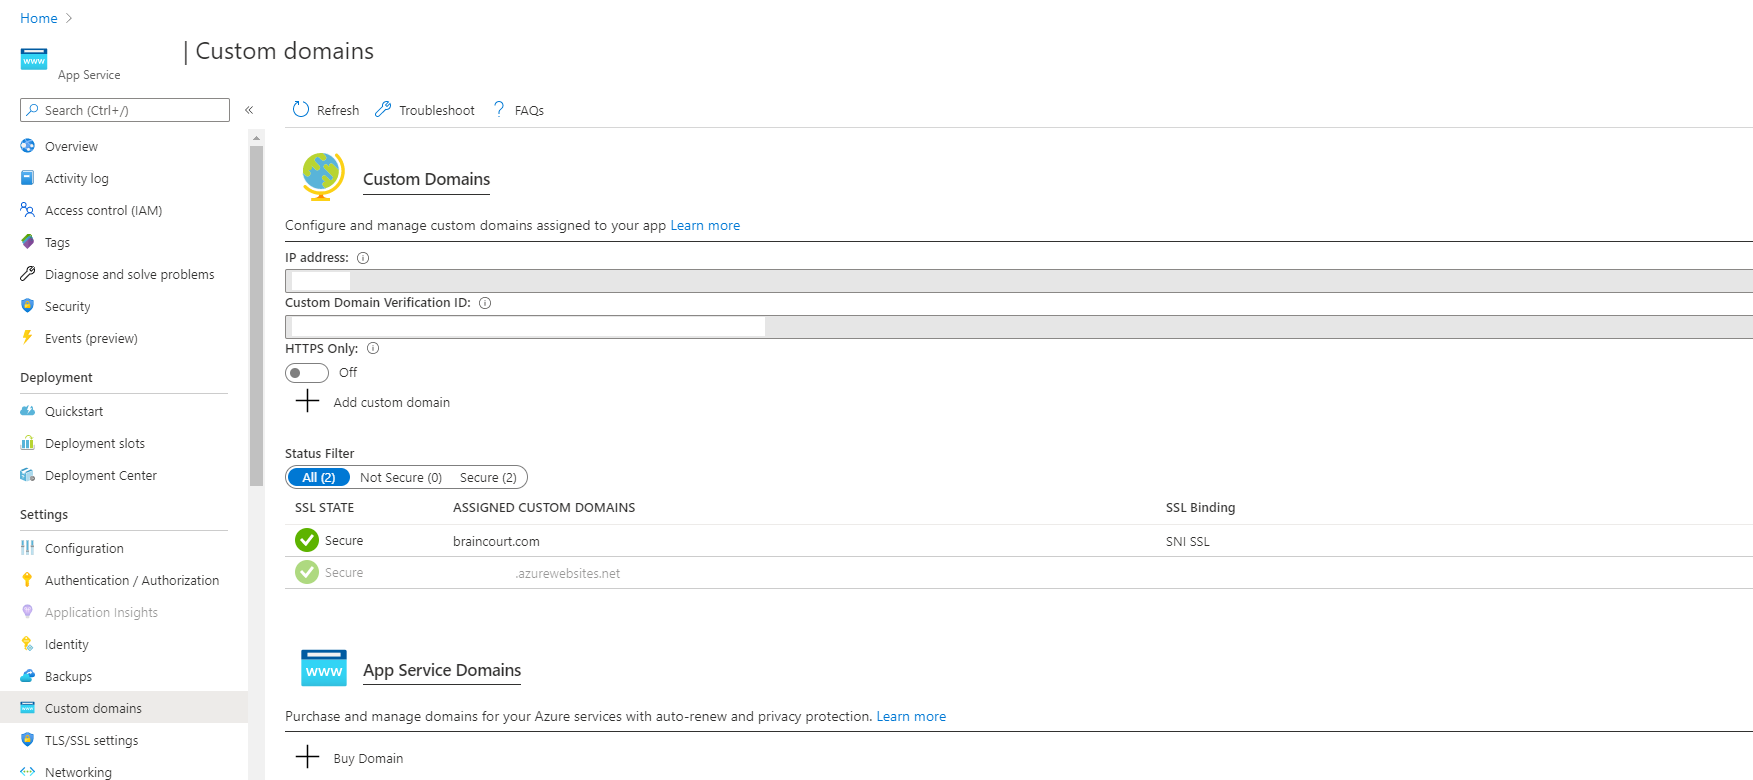
From now on the WordPress site is running on HTTPS and the custom domain and FQDN with the uploaded certificate.
Finally you have to modify your wp-config.php file in order to WordPress is running under HTTPS.
First the Relative URLs settings for switching the slots should be changed from http to https as follows:
//Relative URLs for swapping across app service deployment slots
define(‘WP_HOME’, ‘https://’. filter_input(INPUT_SERVER, ‘HTTP_HOST’, FILTER_SANITIZE_STRING));
define(‘WP_SITEURL’, ‘https://’. filter_input(INPUT_SERVER, ‘HTTP_HOST’, FILTER_SANITIZE_STRING));
And second if you encounter that the SSL Binding is breaking your CSS, then add the following line into your wp-config.php:
if ($_SERVER[‘HTTP_X_FORWARDED_PROTO’] == ‘https’) $_SERVER[‘HTTPS’]=’on’;
Note: make sure that you add this line before require_once(ABSPATH . ‘wp-settings.php’);
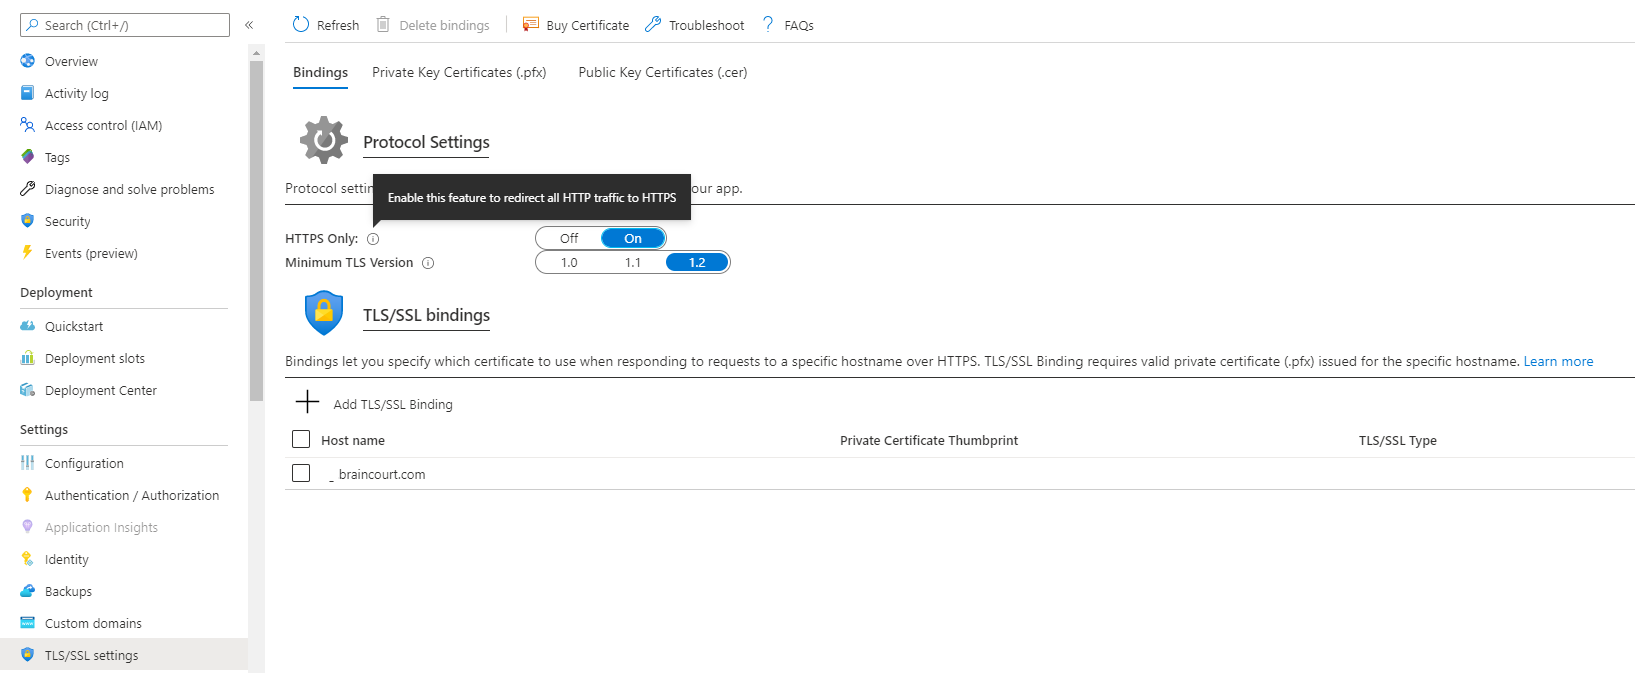
You can force redirecting from HTTP to HTTPS directly in the App Service Settings menue under TLS/SSL settings.
Backup your Azure App Service Web Apps + databases
Finally not to run in a disaster in loosing or destroying our Web Apps, we will configure the Backup for the Web Apps including the corresponding MySQL databases.
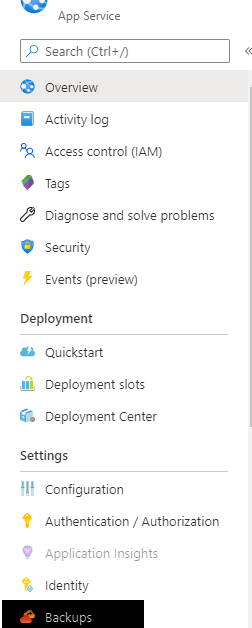
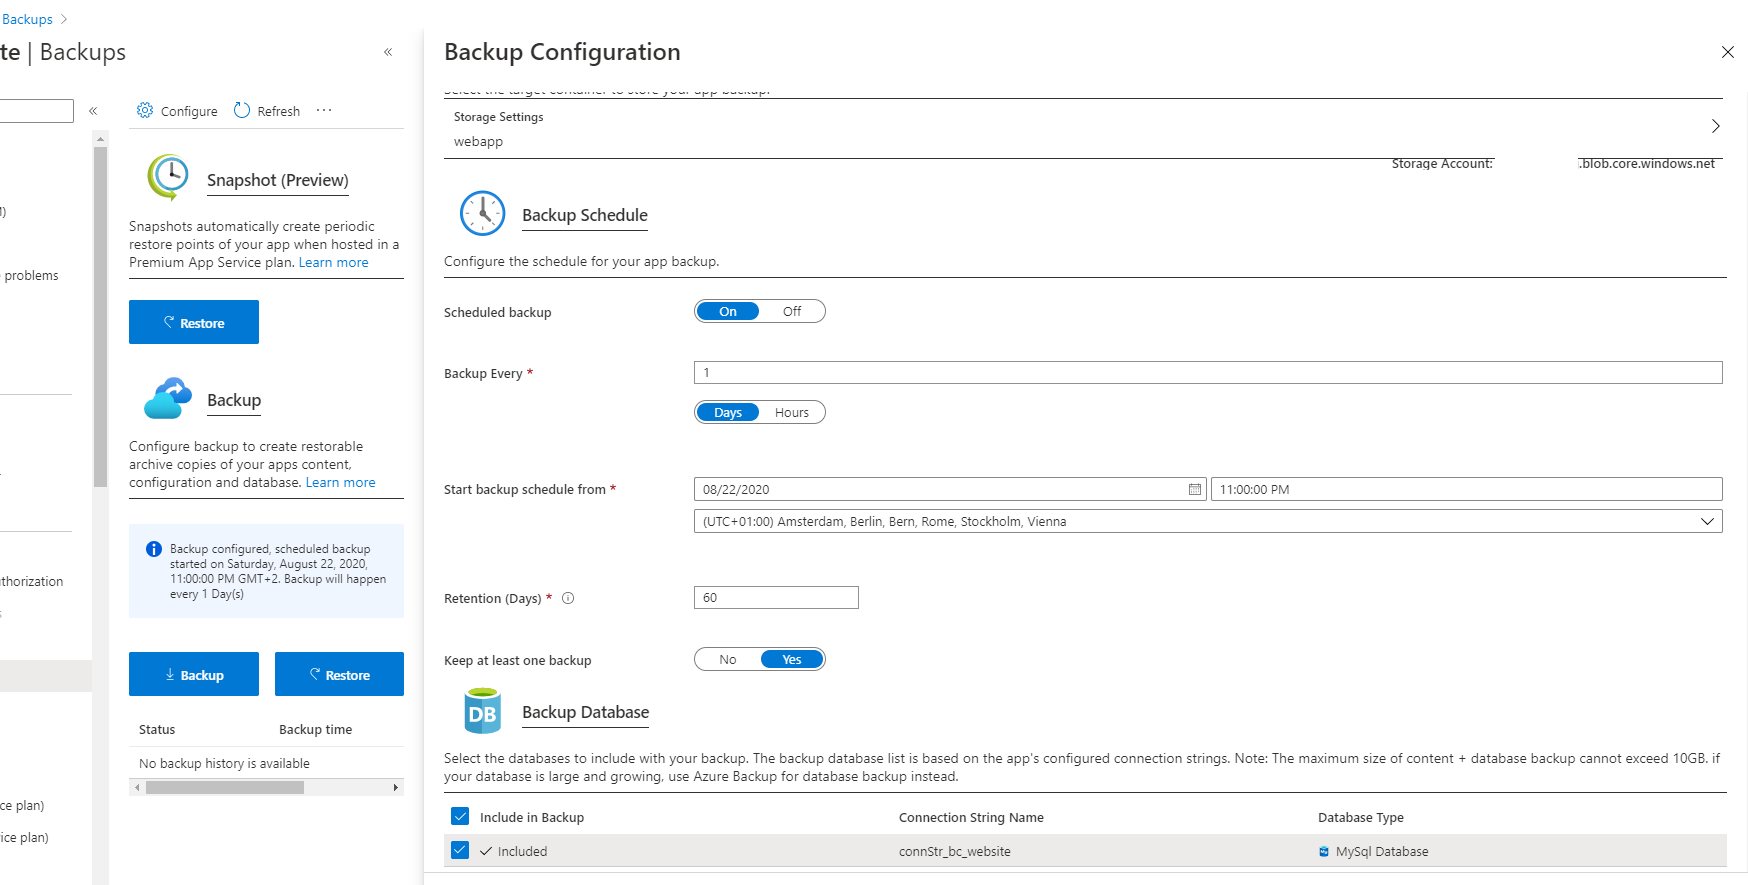
For each Web App (Slot), we need a separate Backup. In the App Service menue under Settings click on Backups.
Here you must select an storage account, can schedule the backup, set the retention days before backups will be overwritten and optional include the backup for the MySQL database.
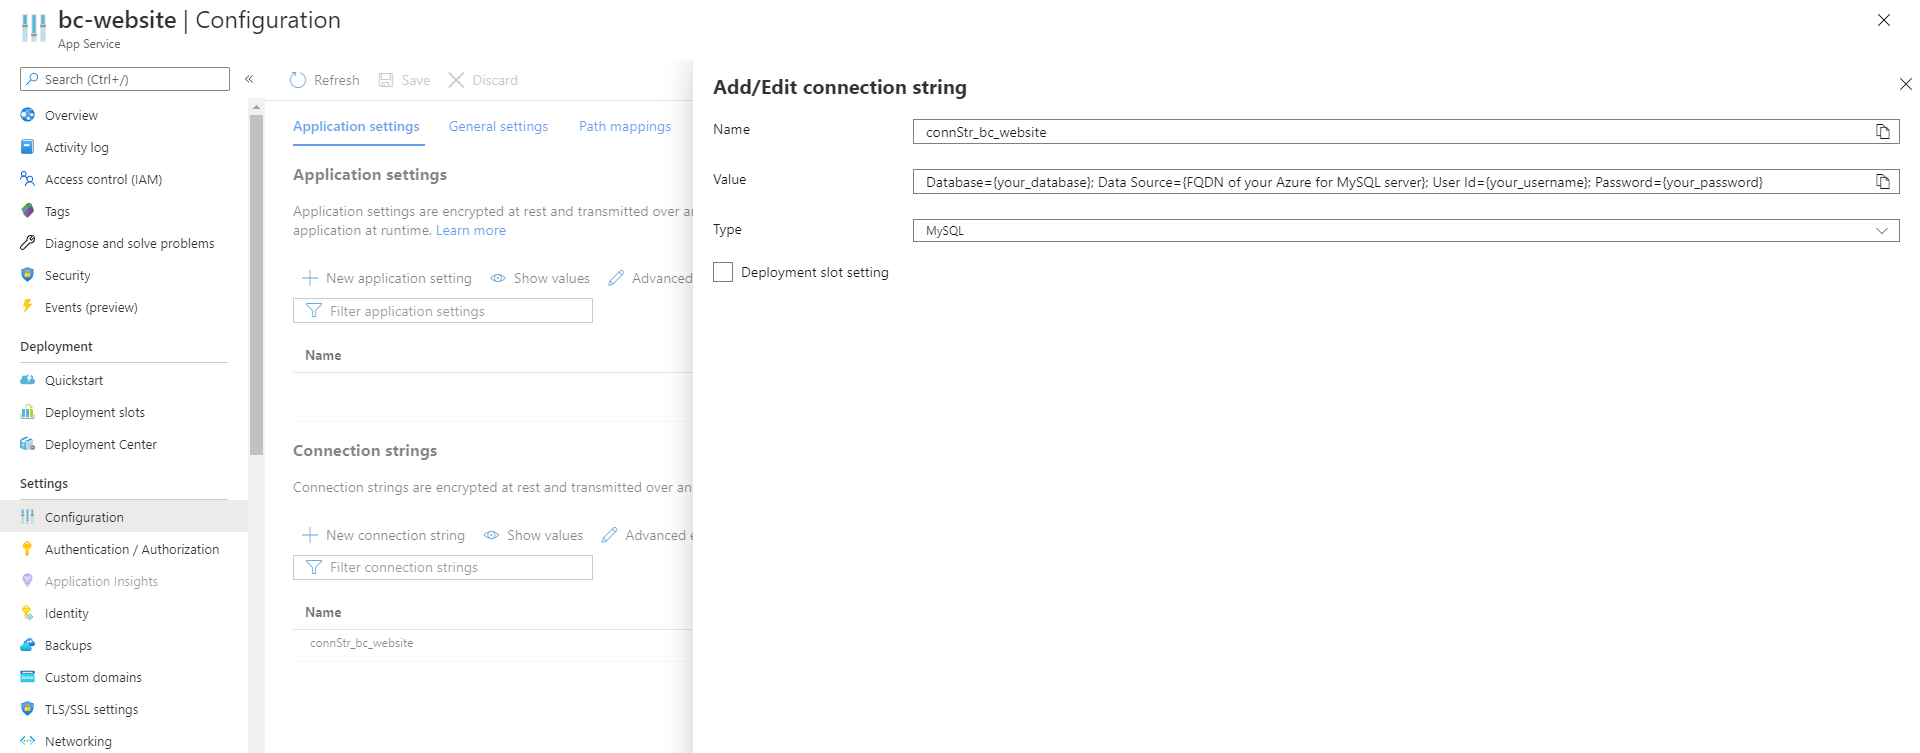
In order to include the MySQL database in the Web App backup, you need to configure a Connection String in the Web App Settings under Configuration.
Connection String
Adjust your database name, FQDN of your Azure Database for MySQL server, User ID and your password.
You will find these informations in your Azure Database for MySQL server in the Settings menue under Connection strings and there you have to pick up the Web App string.
Note: Be aware, to not check Deployment slot setting as it is per default, otherwise when you check this, the Connection String is stick to the specific slot, and when you swap the slots, the Connection String doesn’t point to the right app, because the app changes for this slot but not the connection string. So leave it blank, otherwise at restoring a backup, you restore the wrong database to the app!
Don’t forget, the same procedure also for your staging slot Web App, in order to have a complete backup of your App Service Web App environment!
The best home for modern WordPress sites built on the Google Cloud Platform