Set up MediaWiki on Ubuntu 20.04.3 LTS
In this post I want to go through the separate steps to set up the open source software MediaWiki on Ubuntu 20.04.3 LTS.
The steps we need to do are:
- install and configure the Apache web server
- install and configure the MySQL server
- install PHP 8.0
- download and extract MediaWiki to the web root folder
- set up the wiki itself
Install Apache
First we will install the Apache web server as follows.
$ sudo apt-get install apache2
You can check the installed version with
$ apache2 -v
Install MySQL 8.0
You can install MySql 8.0 by using the default repository from Ubuntu 20.04.3 LTS which will install MySql 8.0.26.
$ sudo apt update
$ sudo apt install mysql-server
You can check the installed version with
$ mysql --version
Install PHP 8.0
To install PHP on Ubuntu 20.04.3 LTS you first have to add the Ondrej PHP repository to install it afterwards as used to.
$ sudo apt install software-properties-common
$ sudo add-apt-repository ppa:ondrej/php
$ sudo apt update
$ sudo apt-get install php8.0-cli php8.0-common libapache2-mod-php8.0 php8.0 php8.0-mysql php8.0-fpm php8.0-curl php8.0-gd php-mbstring php8.0-xml php8.0-intl
You can check the installed version with
$ php --version

To remove the repository you can do it as follow
$ sudo add-apt-repository --remove ppa:ondrej/php
Download MediaWiki
Before I will configure the Apache web server, I will first download and extract the latest stable version of MediaWiki to the web root folder.
You will find the latest stable version on the following site https://www.mediawiki.org/wiki/Download
# download and extract MediaWiki
$ cd /opt
$ sudo mkdir MediaWiki
$ cd /MediaWiki
$ sudo wget https://releases.wikimedia.org/mediawiki/1.36/mediawiki-1.36.1.tar.gz
$ sudo tar -xvzf mediawiki-1.36.1.tar.gz
# creating a dedicated folder for the MediaWiki in the web root
$ sudo mkdir /var/www/mediawiki
$ sudo mkdir /var/www/mediawiki/html
# copy the extracted MediaWiki files to that folder
$ sudo cp -r mediawiki-1.36.1 /var/www/mediawiki/
# move the files inside that folder to the final html folder on what our virtual hosts file in Apache will point later for the web root
$ sudo mv -v /var/www/mediawiki/mediawiki-1.36.1/* /var/www/mediawiki/html/
$ sudo rm -r /var/www/mediawiki/mediawiki-1.36.1
# https://www.mediawiki.org/wiki/Manual:Security/en#File_permissions
# change the owner of the image directory to the PHP/Apache user www-data as uploaded files need to go there,
# so MediaWiki needs to be able to write there
$ sudo chown -R www-data /var/www/mediawiki/html/images
# remove write access from all other users and groups besides the file owners
$ sudo chmod -R go-w /var/www/mediawiki/html/
# go-w removes write permissions from the group and other users. It will not change permissions for the
# user that # owns the file.
# go-rwx removes read, write, execute permissions from the group and other users. It will not change
# permissions for the user that owns the file.
# Not all versions of chmod support the ugo±rwx syntax scheme.
# https://www.mediawiki.org/wiki/Manual:Installing_MediaWiki
# Finally the folder permissions should set to 755 and file permissions to 644.
# to change the permissions you can run the following commands inside your MediaWiki folder.
$ cd /<MediaWiki folder>
$ find . -type f -exec chmod 644 {} \;
$ find . -type d -exec chmod 755 {} \;
Create/Configure Virtual Host File in Apache
To configure the Apache web server we create a virtual host file for our MediaWiki website.
Apache Virtual Host documentation
https://httpd.apache.org/docs/2.4/en/vhosts/
The term Virtual Host refers to the practice of running more than one web site (such as company1.example.com and company2.example.com) on a single machine.
VirtualHost Examples
https://httpd.apache.org/docs/2.4/vhosts/examples.html
Finally you should secure your MediaWiki by redirecting all requests to use SSL/TLS in order to protect the sign-in with username and password.
For this post I only create a HTTP Port 80 VirtualHost file.
<VirtualHost *:80>
	ServerName wiki.domain.tld
	ServerAdmin admin@domain.tld

	DocumentRoot /var/www/mediawiki/html

        <Directory /var/www/mediawiki/html>
   	AllowOverride All
 	</Directory>

	ErrorLog ${APACHE_LOG_DIR}/error.log
	CustomLog ${APACHE_LOG_DIR}/access.log combined

</VirtualHost>
# install further libraries for the a2ensite command
$ sudo apt update
$ sudo apt-get install apache2 libapache2-mod-wsgi python-dev
# enable the virtual host
$ sudo a2ensite wiki.conf
$ sudo systemctl reload apache2
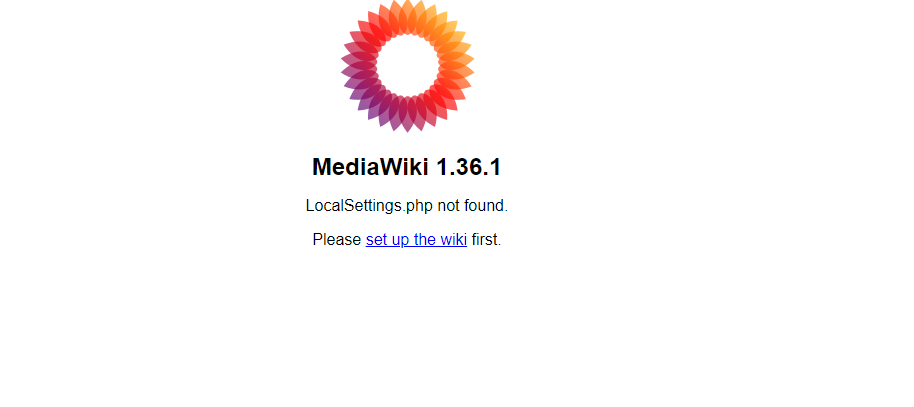
Here we click on the link set up the wiki
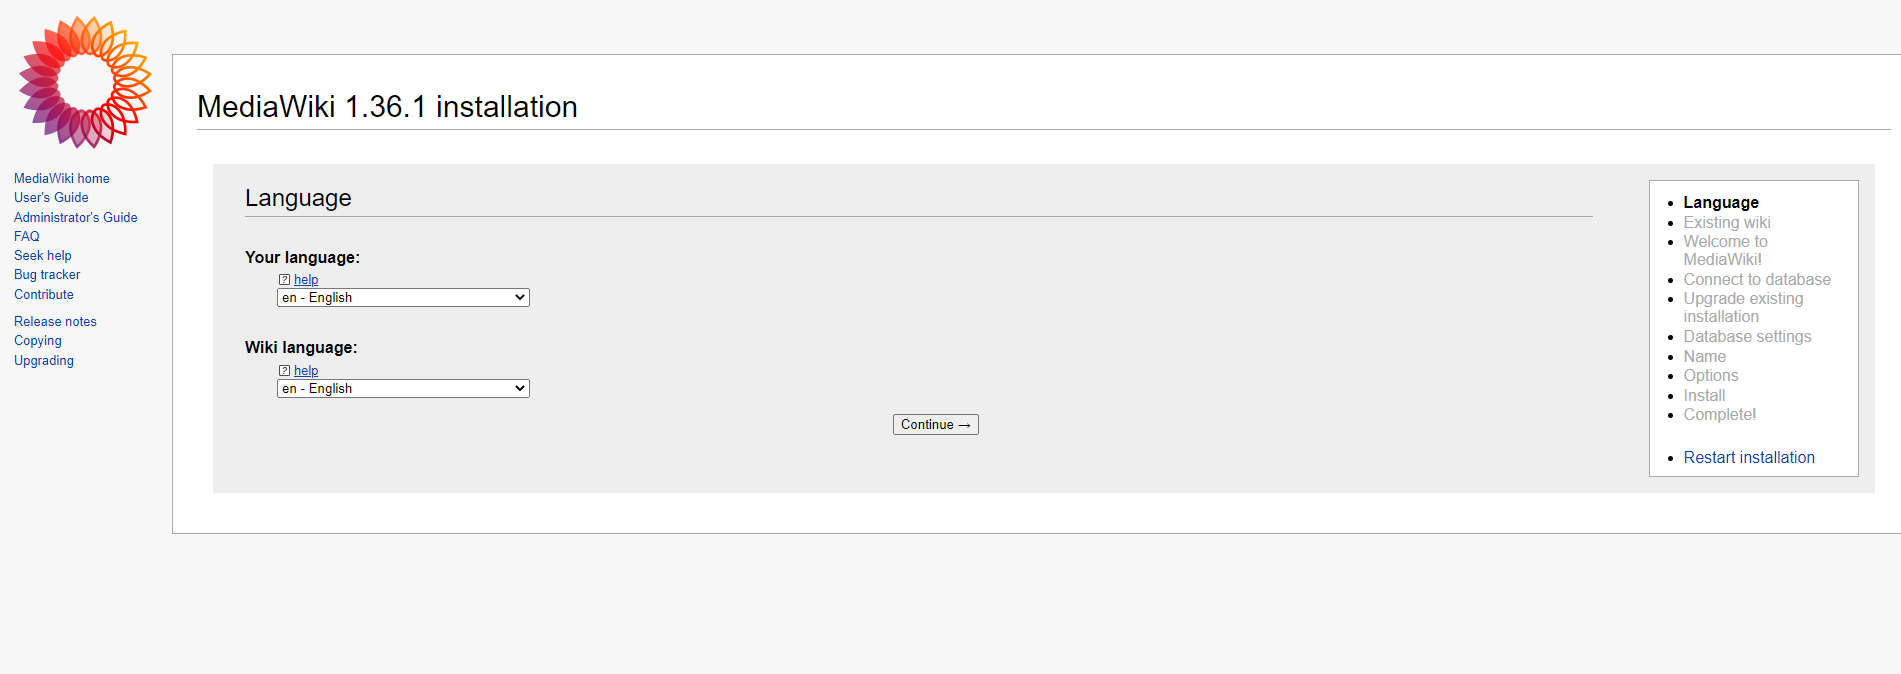
I will leave both language settings to en – English and click on Continue
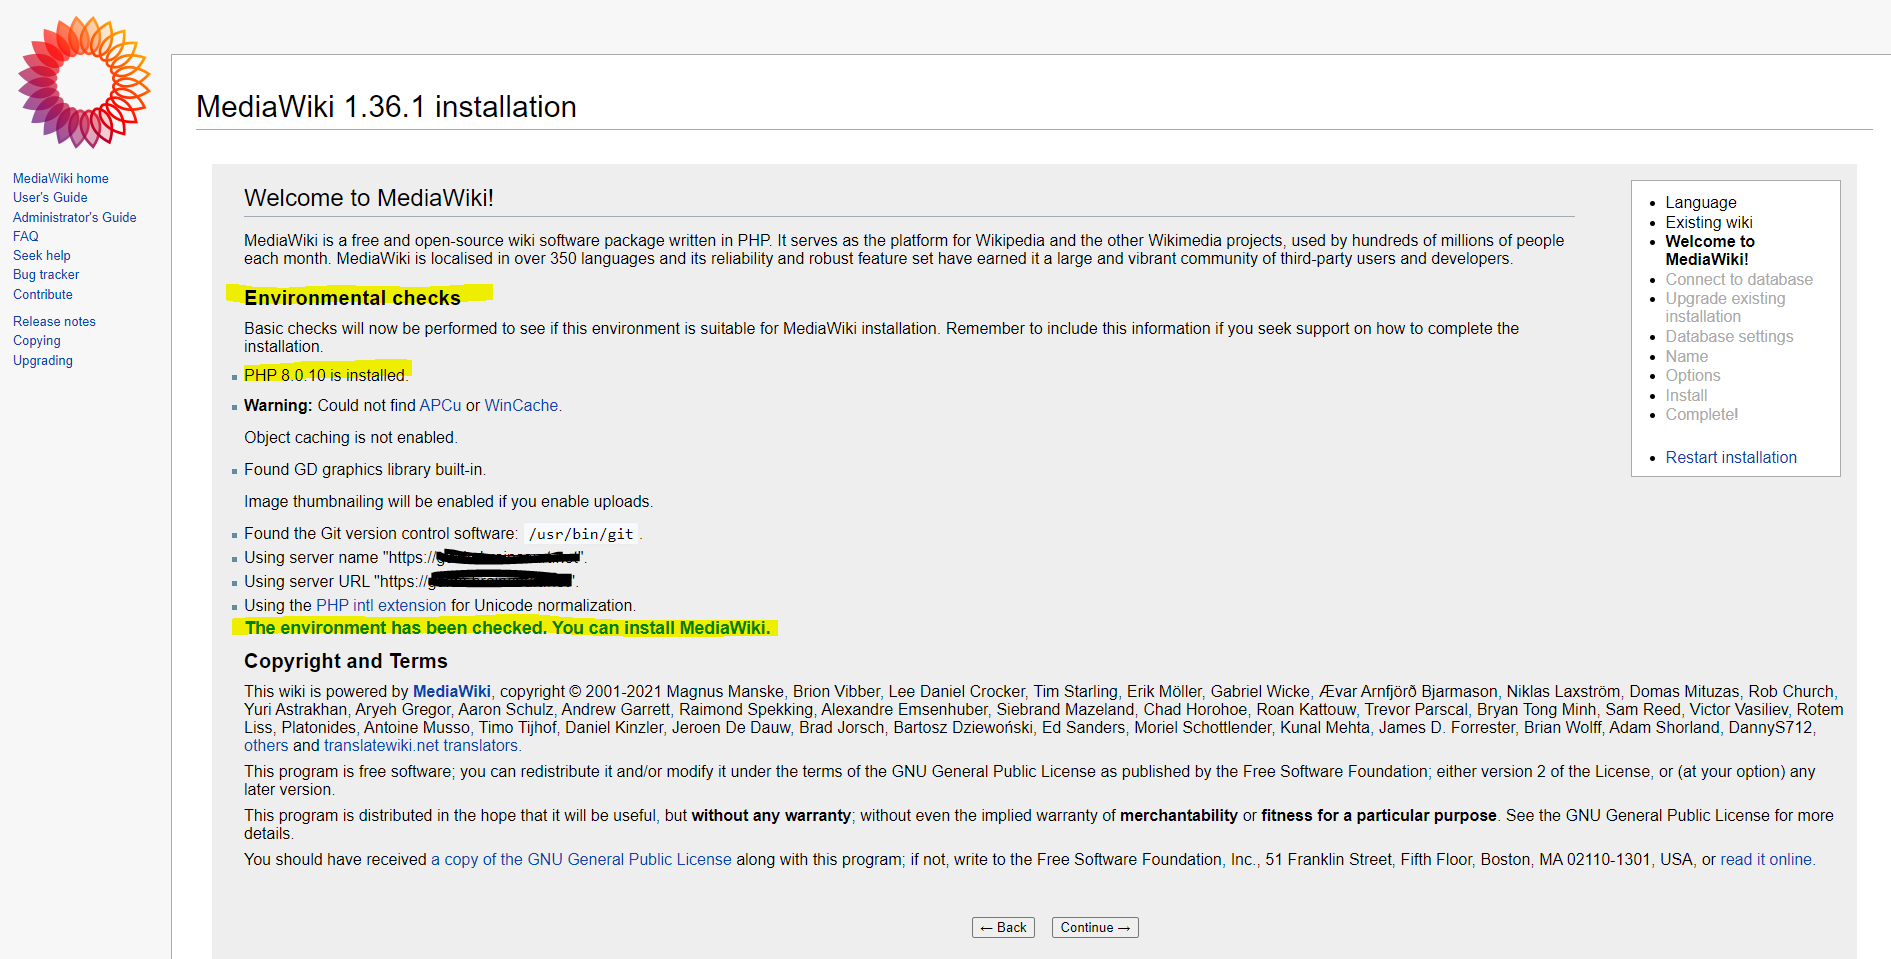
Environment checks is passed.

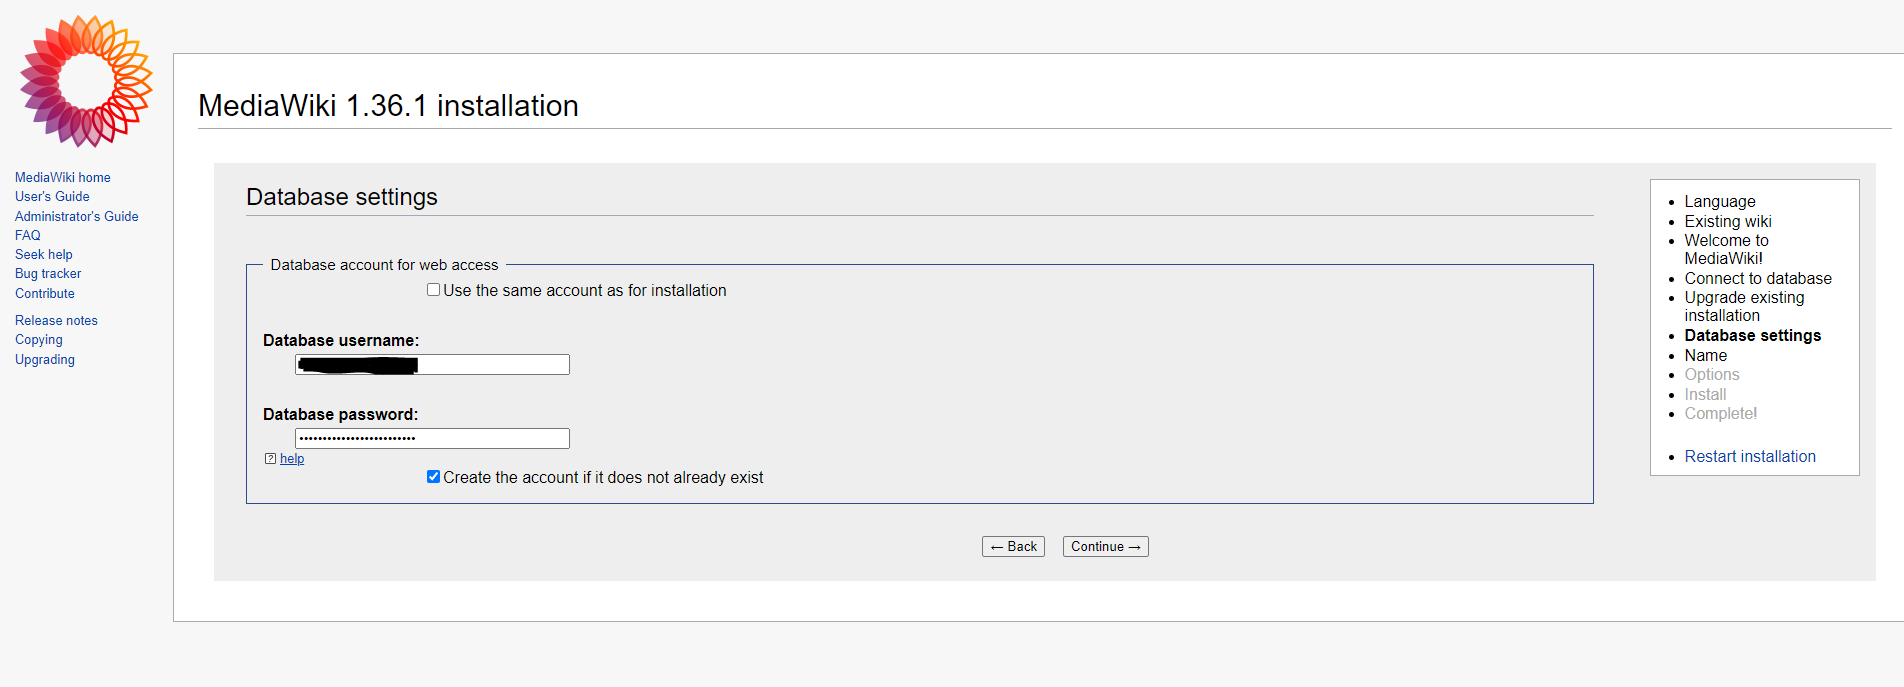
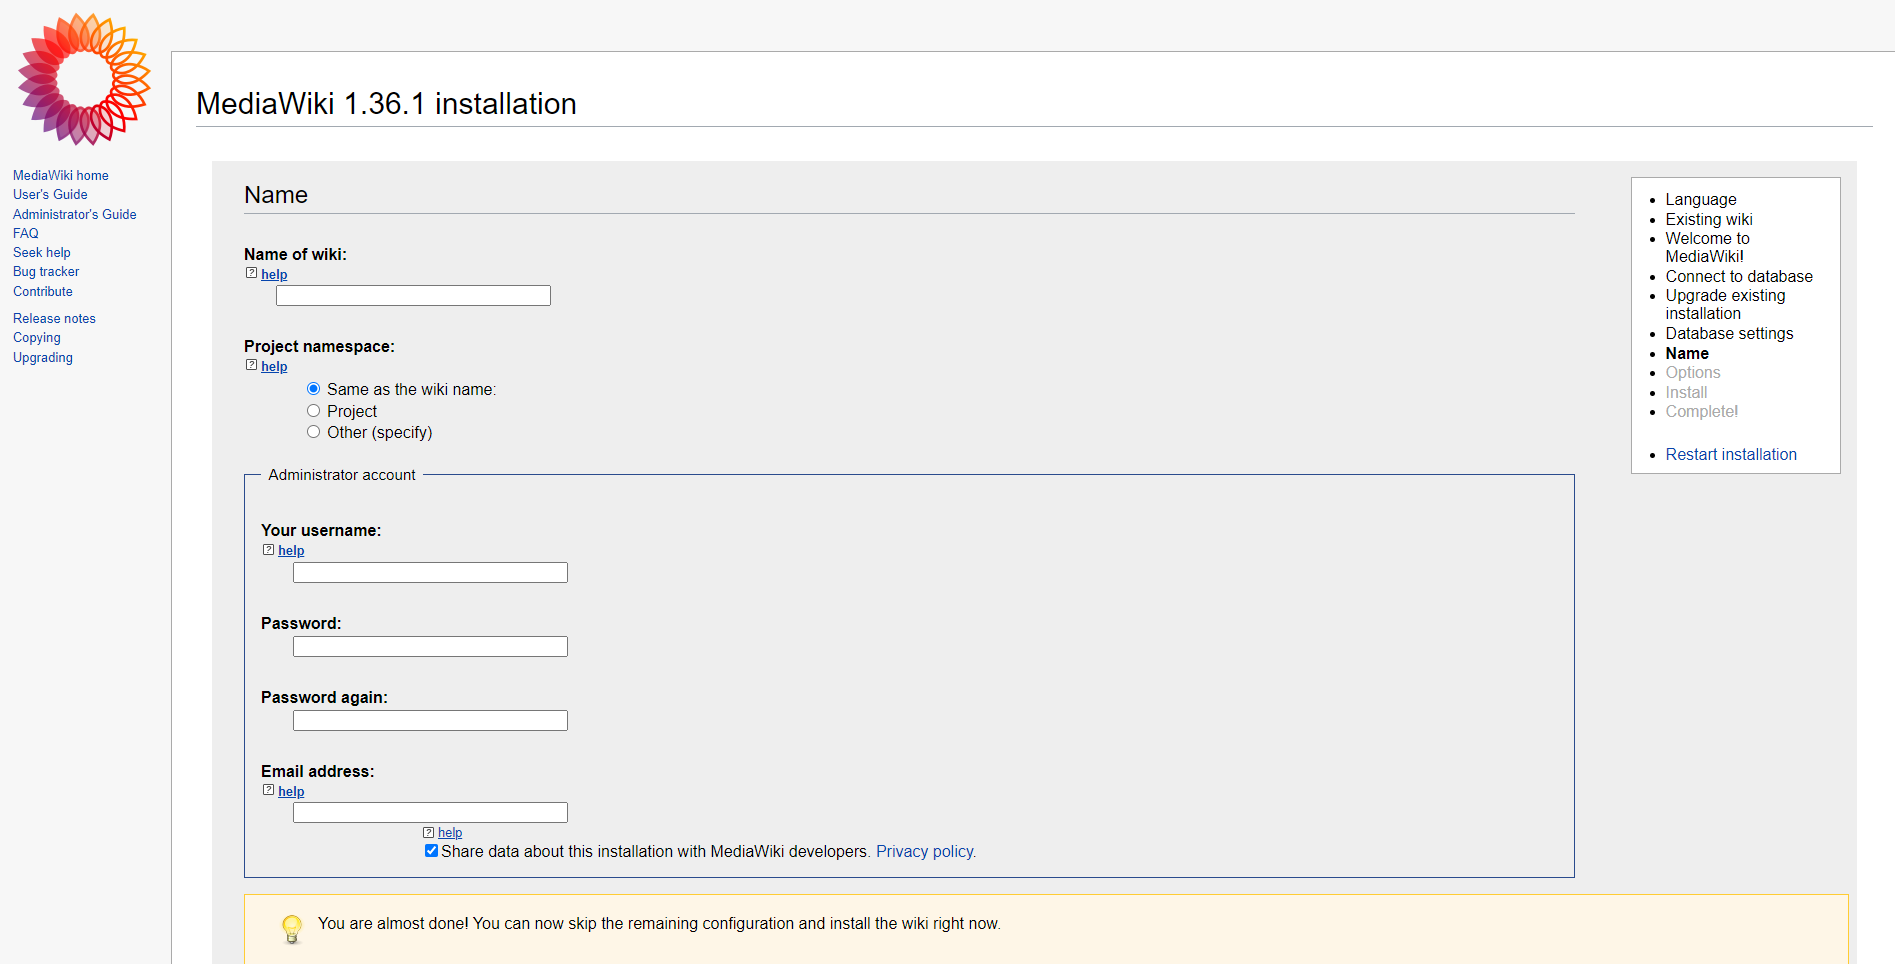
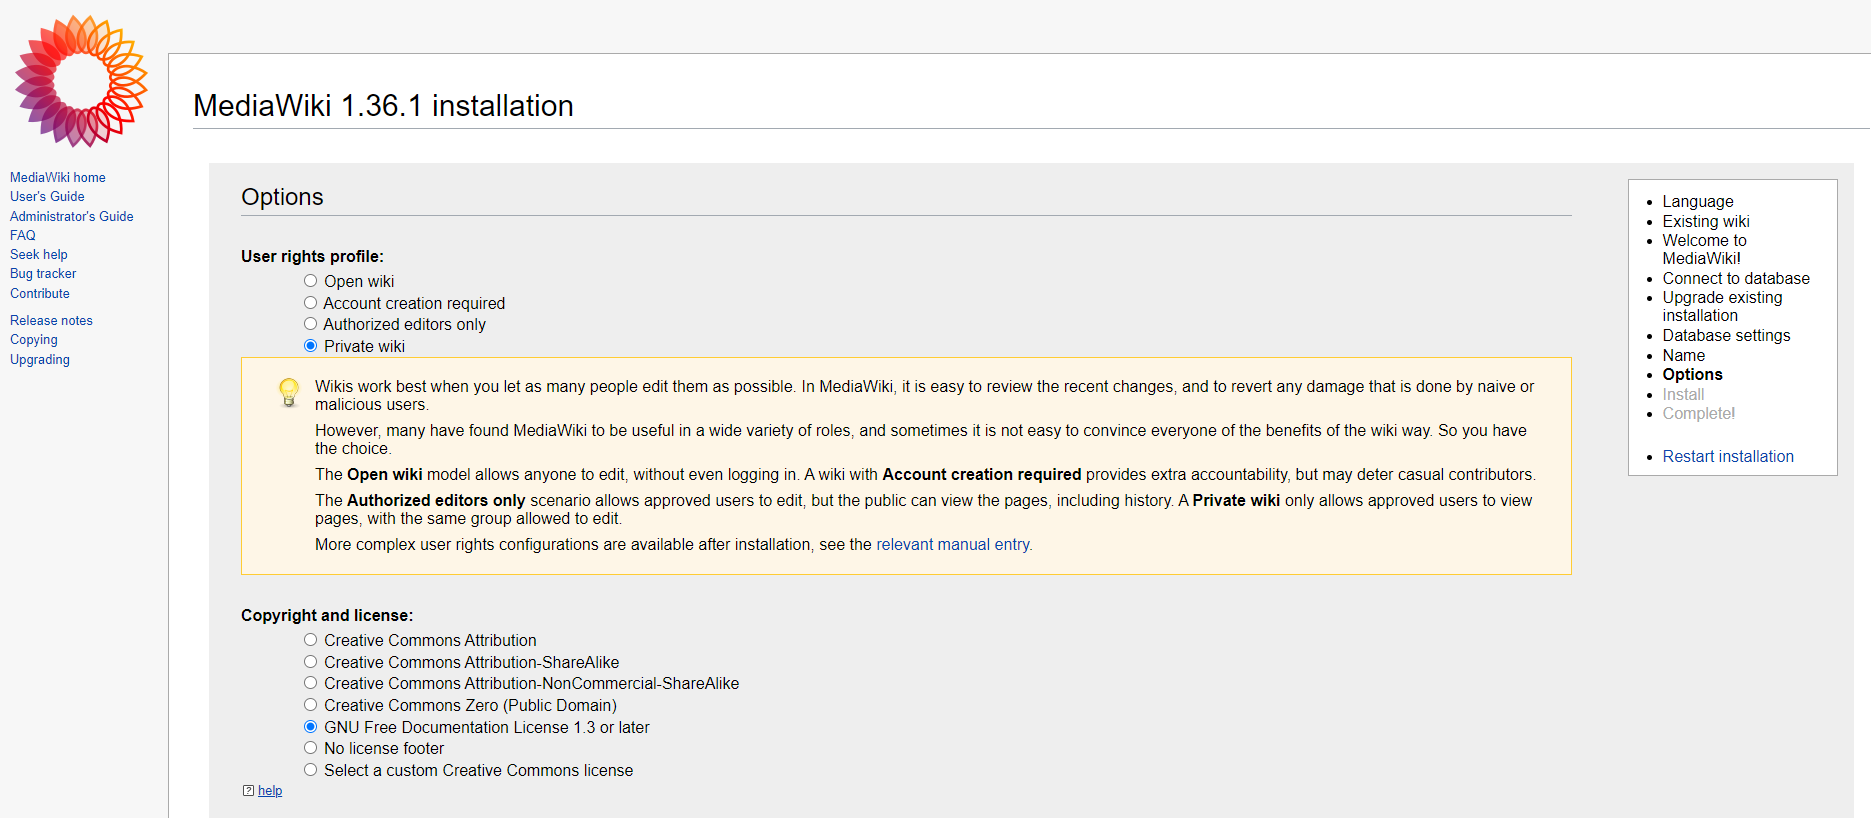
Here I will select Ask me more questions.


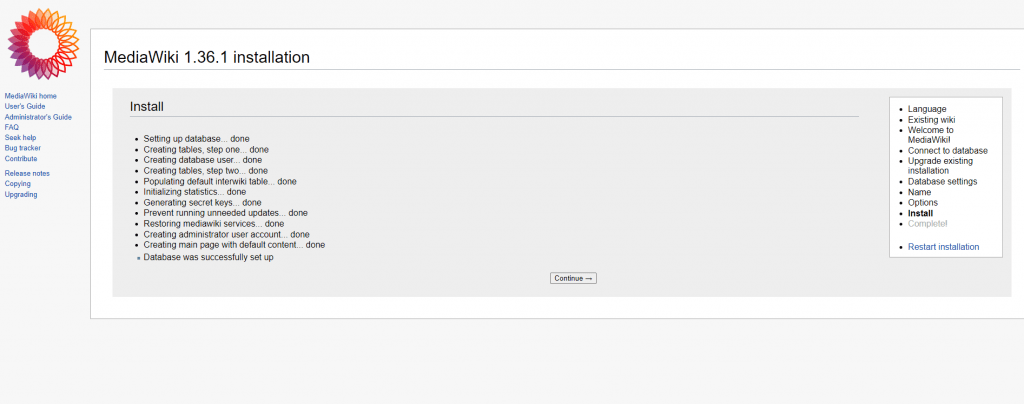
Click on Continue to begin the installation.

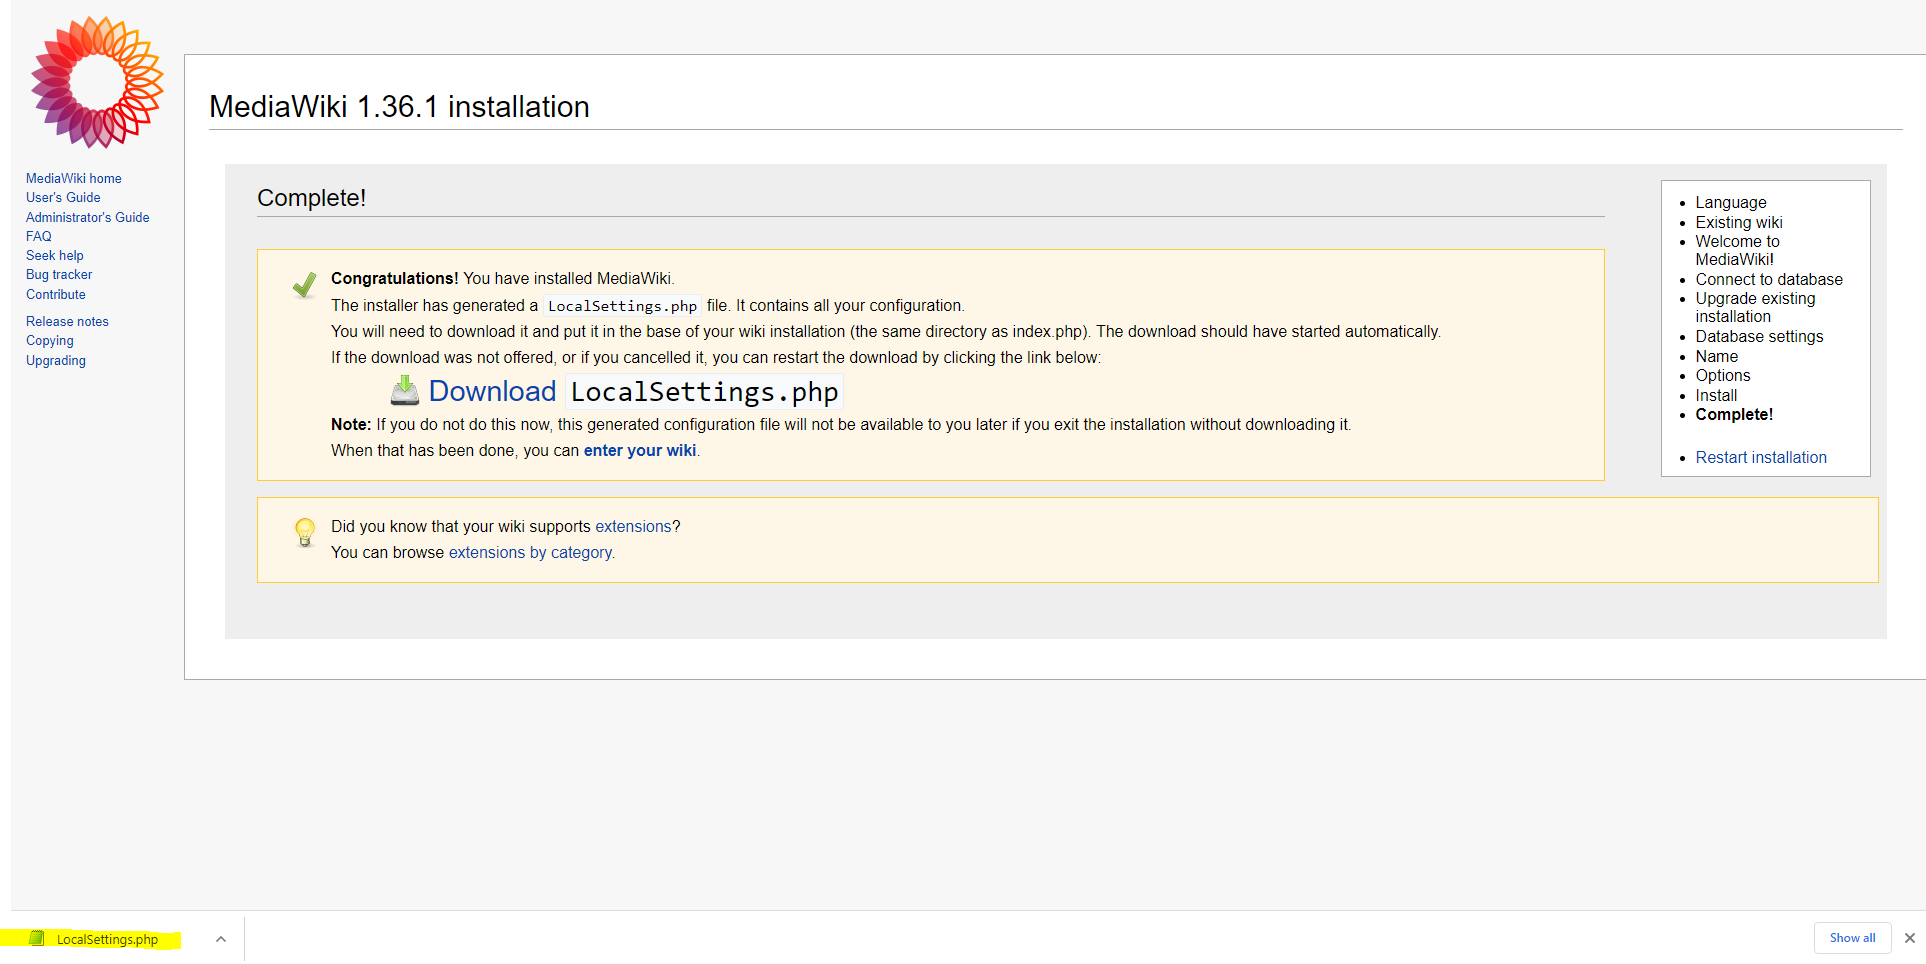
Download the LocalSettings.php file and upload it to the base of the wiki installation web root folder.
After that click on enter your wiki.

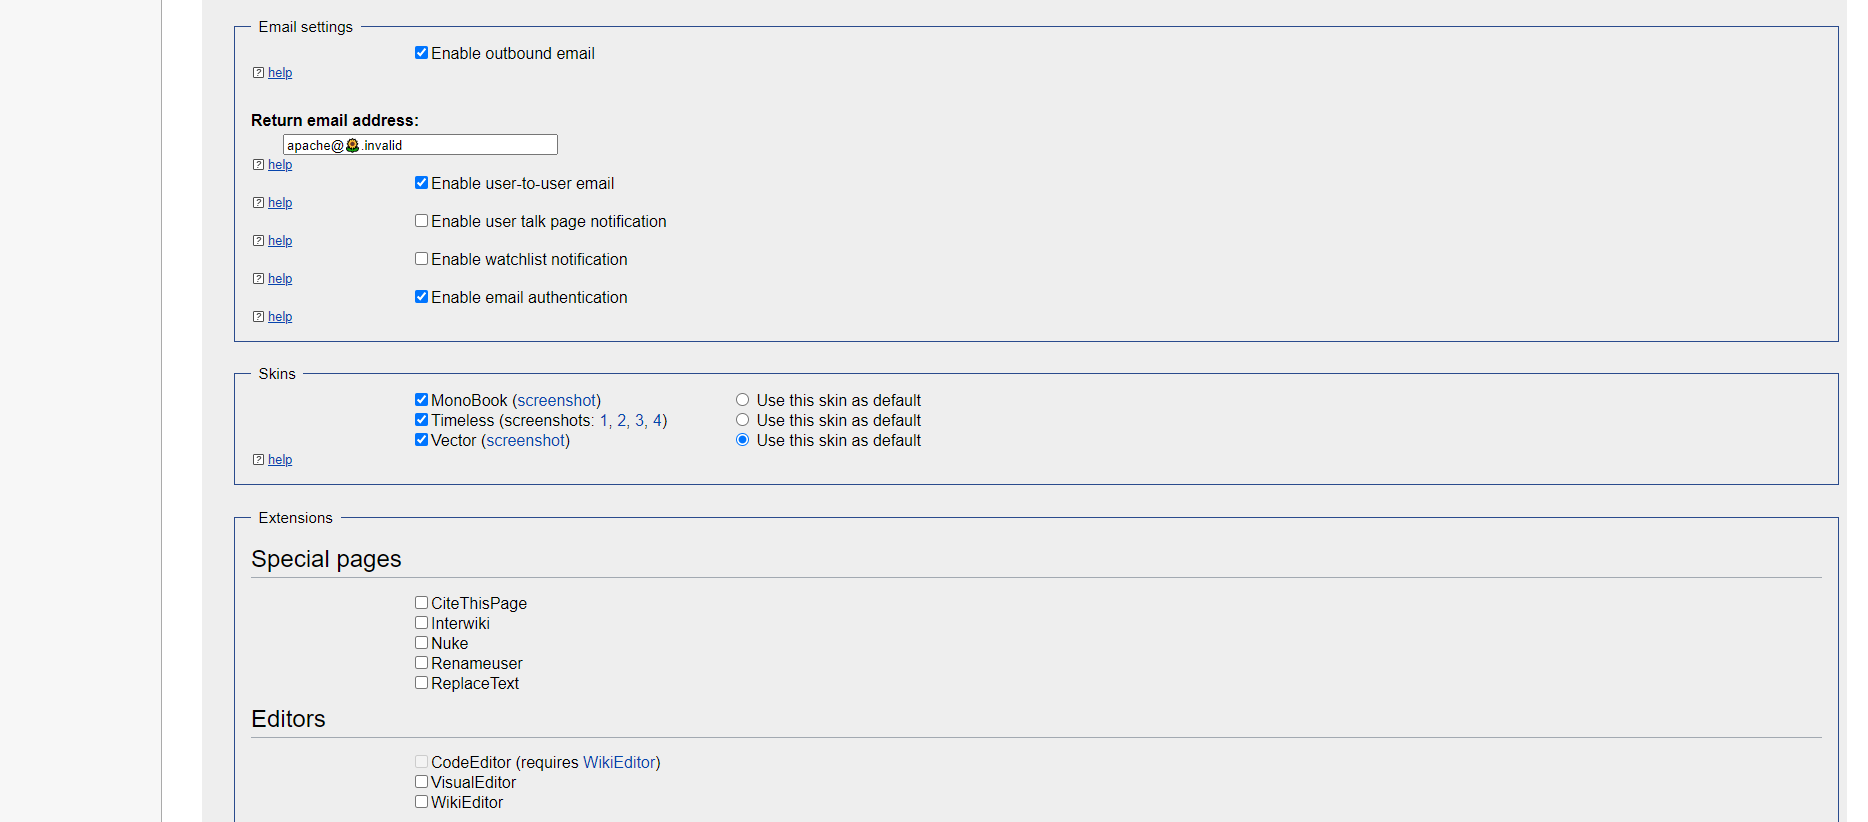
Enable Extensions
You can enable extensions during the installation setup above or by editing the LocalSettings.php.
# enable extensions
wfLoadExtension( 'MsUpload' );
wfLoadExtension( 'SyntaxHighlight_GeSHi' );
wfLoadExtension( 'WikiEditor' );
wfLoadExtension( 'Gadgets' );
wfLoadExtension( 'ImageMap' );
wfLoadExtension( 'InputBox' );
wfLoadExtension( 'Interwiki' );
wfLoadExtension( 'Nuke' );
wfLoadExtension( 'ParserFunctions' );
wfLoadExtension( 'PdfHandler' );
wfLoadExtension( 'Poem' );
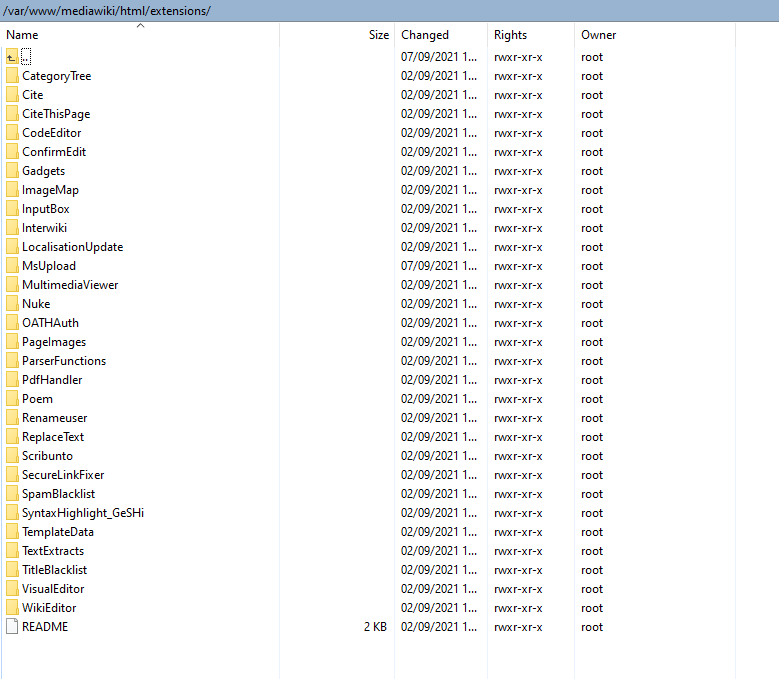
Available extensions are located in the /extensions folder.
MsUpload
https://www.mediawiki.org/wiki/Extension:MsUpload
https://github.com/wikimedia/mediawiki-extensions-MsUpload/archive/master.tar.gz
$ sudo wget https://github.com/wikimedia/mediawiki-extensions-MsUpload/archive/master.tar.gz
$ tar -xzvf master.tar.gz
$ sudo cp -r mediawiki-extensions-MsUpload-master/ /var/www/mediawiki/html/extensions/
# rename the folder to MsUpload
$ sudo mv mediawiki-extensions-MsUpload-master/ MsUpload


Adjustments
Increase Sidebar width
You can change the width of your sidebar by adding the following CSS rules to your MediaWiki:Monobook.css
/* increase sidebar width */
#column-content { margin-left: -20em; }
#column-content #content { margin-left: 20em; }
#p-logo a, #p-logo a:hover { width: 20em; }
#p-cactions { left: 19.5em; }
.portlet { width: 19em; }
div#column-content { margin-left: -19em; }
div#column-one {width:250px;}
Securing your MediaWiki for strict private use
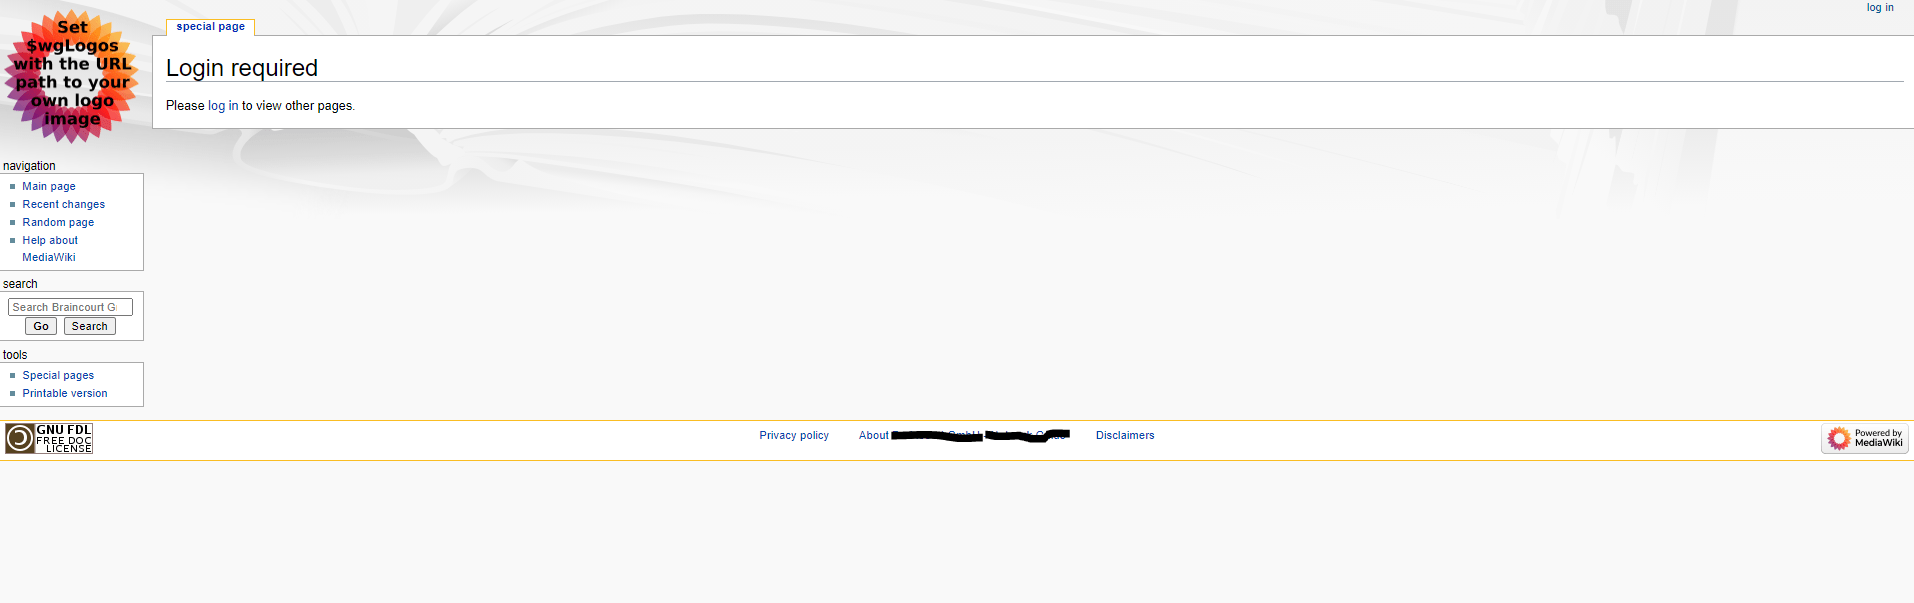
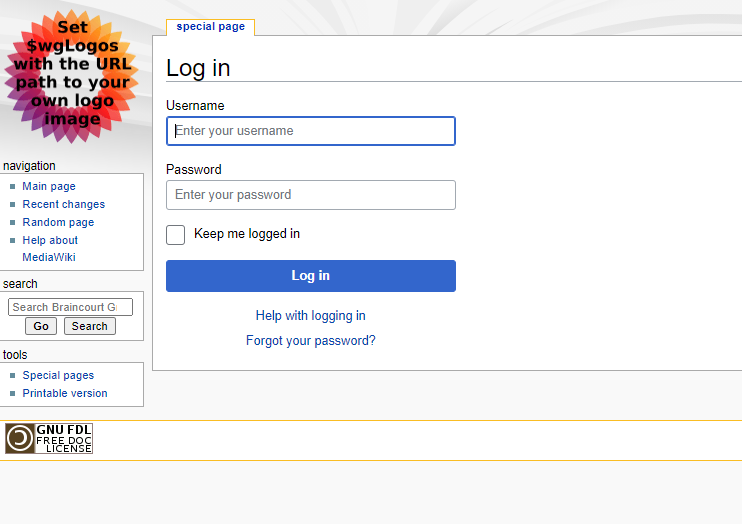
In case you want to use the MediaWiki only private and not open to the public, you can secure it by using Authentication in Apache plus the option Private wiki.
In that case a user needs to authenticate twice, once to get first access to the web root folder and once to login to the MediaWiki.
Preventing access
https://www.mediawiki.org/wiki/Manual:Preventing_access
Further you can also secure it by using a web application firewall (WAF) like modsecurity and Fail2ban to prevent brute-force attacks.
More you will find in my following posts.
Change Admin Password by using the Shell
Navigate to your web root and the maintenance folder, in my case
/var/www/mediawiki/html/maintenance
and execute the following command where pass123 is your new password for the admin user:
php changePassword.php --user=admin --password="pass123"
Links
Manual:Installing MediaWiki
https://www.mediawiki.org/wiki/Manual:Installing_MediaWikiManual:Security
https://www.mediawiki.org/wiki/Manual:SecurityownloadDownload
https://www.mediawiki.org/wiki/D
The best home for modern WordPress sites built on the Google Cloud Platform